
Making your planter can be a rewarding expense. Knowing how to create your succulent planter is another way of caring for your planter. The planters you create could be a gift to your loved ones or fun activity with your family.
As a planter lover, I have several succulent plants in my collection. What attracted me to them was their hardiness and low maintenance. They have been a great addition to my indoor and outdoor plants collection.
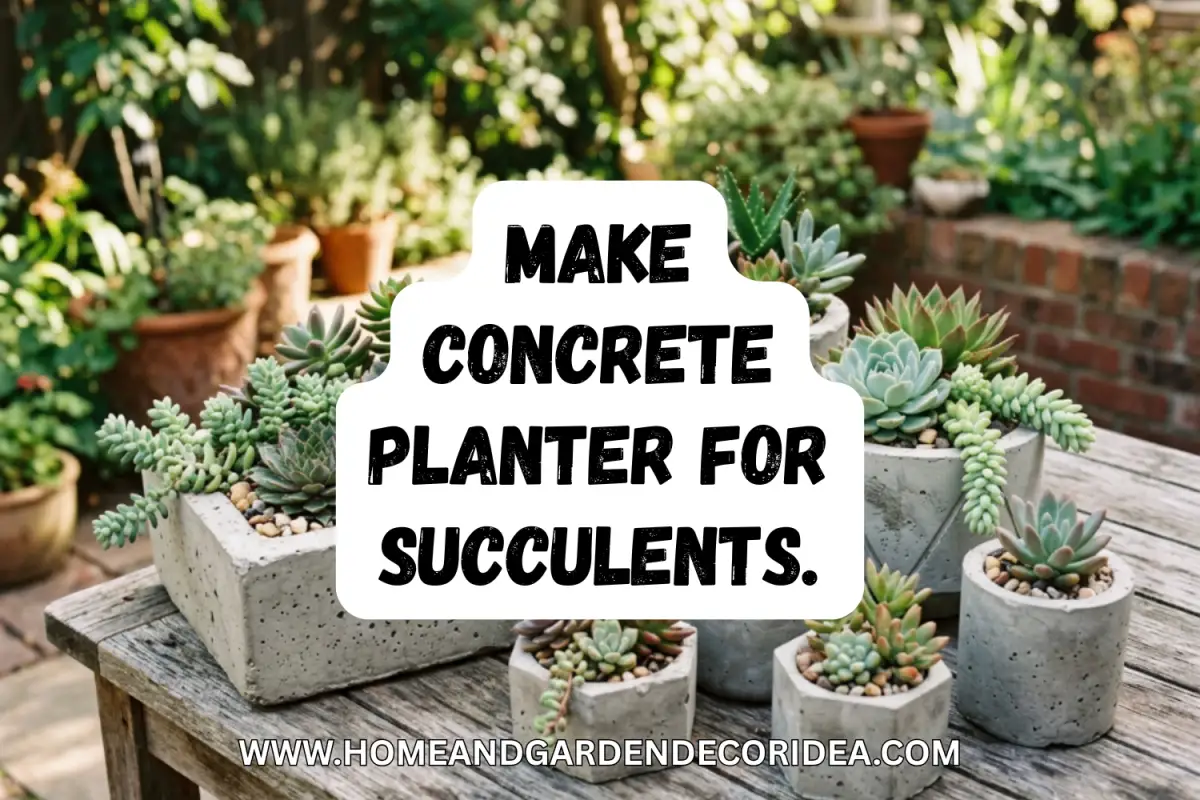
One creative way to display my succulents is by creating my own DIY succulent planters. They have added a touch of elegance and unique personalized touch to my home decor.
In the guide below, I’ll walk you through the step-by-step process of creating your succulent planter. The result will be stunning and a talking point when your friends and neighbors visit your garden. So roll your sleeves, and let’s get started!
Materials and Tools You’ll Need.
Before we dive into the exciting world of DIY succulent concrete planters, let’s gather all the materials and tools you’ll need for this project. Here’s a list of items you’ll need to get started:
Concrete mix: You can find this at your local hardware store or online. Look for a high-quality concrete mix suitable for crafts and small projects. I recommend purchasing the Quikrete fast-setting cement. The cement is perfect for all projects due to the fast curing process. For a small project, the cement is sufficient without adding rocks or pebbles.
Water: You’ll need water to mix with the concrete, so ensure you have clean water accessible before you start the project.
Mold: You’ll need a mold to shape the concrete into a planter. You can use various materials, such as plastic containers, silicone molds, or cardboard boxes. I suggest using s silicone mold for best results. Silicone molds allow for ease of removing the cement planter from the mold. Another benefit of silicone mold is the clean and smooth surface once you remove the final product from its mold.
Succulent plants: Choose a variety of succulent plants that will fit nicely in your planter. If you don’t have a succulent in your home, You can find many succulents at your local nursery or online.
Sandpaper: You’ll need sandpaper to smooth out the edges of the concrete planter once it’s dry.
Paint or sealant (optional): If you want to add a pop of color to your concrete planter, you can use paint or sealant to finish it off.
Now that you have all the materials and tools ready let’s dive into the step-by-step process of creating your own DIY succulent concrete planters. You can lay down a cloth or plastic sheet to prevent staining your workstation. Ensure all your tools and material needs for these projects are easily accessible.
Step 1: Prepare the Mold
Preparing the mold is the first step in creating your DIY succulent concrete planter. Choose a mold that is the desired size and shape for your planter.
I prefer using a silicone mold due to its ease of use. I also love using silicone mold as there is less chance of using mold release.
Make sure the mold is clean and dry before proceeding. If you’re using a plastic container or silicone mold, you may need to apply a thin layer of cooking spray to prevent the concrete from sticking to the mold.

Step 2: Mix the Concrete
Next, it’s time to mix the concrete. Follow the instructions on the concrete mix package to get the right consistency. Mix the concrete with water until it reaches a thick, pourable consistency.
Combine the concrete and water using a mixing container and a stirring stick. Stir the mixture thoroughly to ensure no lumps or dry spots.
Step 3: Pour the Concrete into the Mold
Once you have the right consistency, carefully pour the concrete mixture into the prepared mold. Use a spatula or a trowel to spread the concrete evenly and smooth the surface.
Make sure to fill the mold to the top, but leave a small space for the succulent plants to be planted later. As you pour the cement mixture, ensure the mold is on a level surface for an even distribution of the cement.
Gently tap the sides of the mold with your hand or mallet to release any air bubbles trapped in the concrete. The tapping will allow for the concrete to settle evenly as well.
Step 4: Curing Process
The curing process produces heat. This heat can be felt by touching the mold surface. The larger the concrete planter, the longer the curing process. The curing process range from 4 hours to as long as 48 hours. Of course, read the manufactures instructions on the concrete mix bag for specific curing time.
Ensure the planter is in a safe area away from your curious kids or pets. Keep the planter from extreme temperatures, direct sunlight, and heavy moisture.
Once the concrete planter is ready to come out of the mold, take time to prevent chipping and damaging the edges.
When the concrete is removed from the mold, inspect the surface for areas that need to be filed to smoothen the surface. The sandpaper can further refine the edges to the desired grade.
Step 5: Seal The Planter.

I recommend adding a sealant to allow the planter to survive and last for years. The sealant can also be purchased online or at your local garden store.
Before applying:
- Ensure to brush off any excess concrete or dirt on the surface.
- Brush off the surface with a dry brush.
- Apply the sealant per the manufacturer’s instructions.
Sealing the planter will help protect it from moisture, UV rays, and environmental elements and will also enhance the overall appearance of the concrete.
Step 6: Planting your succulents.
Concrete planters are known for their ability to absorb water. With this in mind, the concrete leaches into the soil, raising the soil’s alkaline levels. Consider planting succulents that are comfortable soils with high alkaline levels.
Place the succulent in plastic containers that fit within your concrete planter. The plastic container will provide a barrier to the soil’s ability to become alkaline-rich.
Making your own planters can be a rewarding project that adds your style to your indoor and outdoor space. By following the steps provided above, you can be proud and create stunning concrete planters that will not only enhance the beauty of your garden but also withstand the test of time.

Leave a Reply