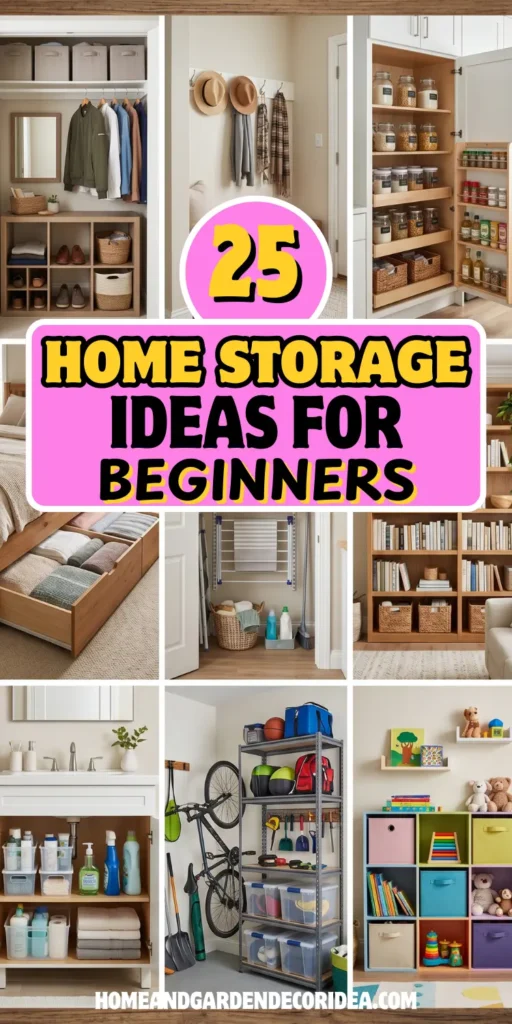
The most encouraging and practical guide to home storage for beginners — because everyone starts somewhere, and your somewhere is right here, right now.
Can I say something to you before we get into any of this? Something I really, genuinely mean?
Wherever your home is right now — however cluttered, however chaotic, however far from the organized, calm space you dream of — you are not behind. You are not failing. You are not a person who “just isn’t organized.”
You are a person who hasn’t yet learned the skills and built the systems that make organization feel natural and sustainable. And those skills? Those systems? They are completely learnable. By anyone. Including you.
I want to say this upfront because the home organization world can feel incredibly intimidating when you’re a beginner.
You open Pinterest and see these pristine, matching-bin, everything-labeled, color-coded homes and you think — that is not my life and it never will be.
You watch the organization videos on TikTok and feel simultaneously inspired and completely overwhelmed, not even knowing where to begin.
You buy a set of bins, put them in a drawer, and six weeks later the drawer is just as chaotic as before except now there are bins in it.
I have been there. My friend Hira has been there — in fact, two years ago she sent me a voice note that was just her opening a closet, the sound of several things falling out, and then silence, and then “I don’t know where to start.”
That voice note made me laugh and broke my heart a little at the same time. Because I knew exactly how she felt and I also knew that the solution was so much more accessible than it felt in that moment.
This guide is written specifically for her. For you. For everyone who is starting from the beginning, who feels overwhelmed by the idea of organizing their home, and who needs someone to walk them through it in a way that is honest, manageable, and genuinely kind about where they are right now.
Let’s start from the very beginning — no judgment, no overwhelm, just one step at a time.
First: Understand Why Your Home Is Disorganized (It’s Not What You Think)
Before we talk about a single bin or shelf or label, I want to talk about why homes get disorganized — because most beginners assume the answer is "because I'm lazy" or "because I'm not a naturally organized person," and both of those assumptions are wrong and they're getting in your way.
Homes get disorganized for one reason: things don't have homes. That's it. That's the whole explanation.
When something doesn't have a designated place where it lives in your home, it ends up wherever it gets set down. Which is wherever you happened to be when you finished using it. Which is different every time. Which means it's never where you expect it to be when you need it next. And things that don't have homes accumulate — they pile up on surfaces, they fill up chairs, they crowd counters, and eventually the visual noise of all those unhomed things becomes what we call clutter.
The solution to clutter is not to be more disciplined about putting things away. The solution is to give everything a home — a specific, logical, designated place where it lives — and then returning it there becomes as simple and automatic as putting your keys in your pocket when you leave.
This reframe changes everything. You are not disorganized as a person. Your home is not fully organized as a system yet. Those are very different things — and only one of them is actually true.
Keep this in mind as we go through everything that follows. Every step in this guide is about building the system, not changing your personality.
Step 1: Start With One Small Space — Not the Whole House
This is the instruction that most beginner home organizers ignore because they're motivated and they want to tackle everything at once — and it is the instruction that, when ignored, causes most beginner home organizers to give up within a week.
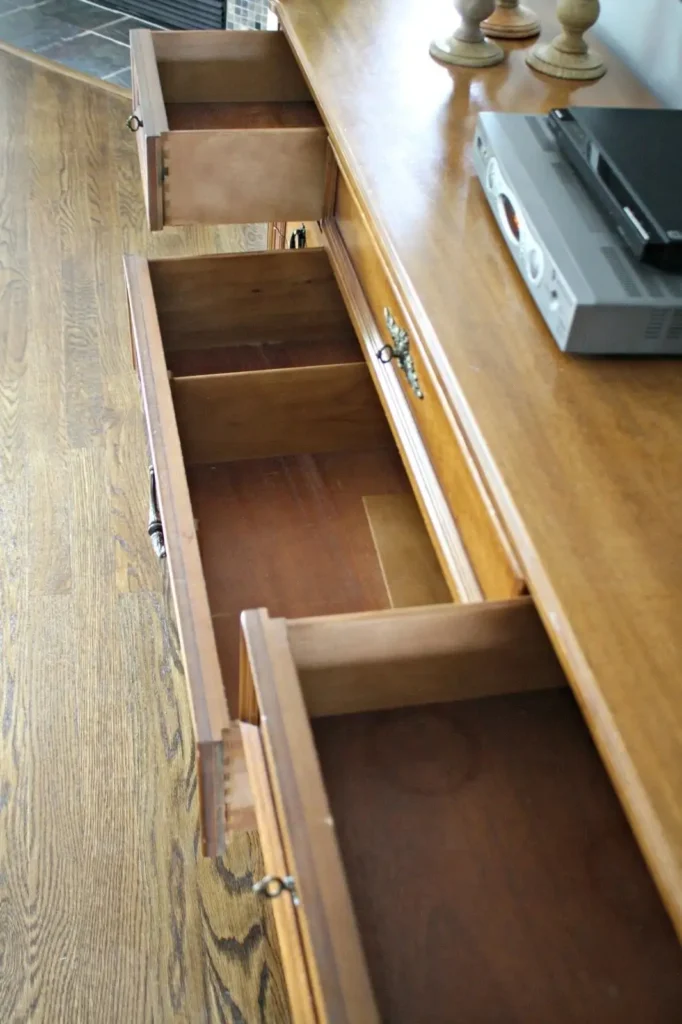
Do not try to organize your whole home at once. Do not try to organize a whole room at once. Start with one small, contained, manageable space. A single drawer. One shelf in a closet. The counter beside the kitchen sink. The top of your dresser. One small space, done properly, in one session.
Here is why this matters so much. When you start small and finish completely, you experience the full before-and-after of an organized space — and that feeling of satisfaction, that visual proof that this works, is the fuel that will carry you forward to the next space and the next. Starting too big means you're always in the middle of a project that never gets finished, never produces that satisfying result, and eventually becomes demoralizing rather than motivating.
My friend Hira started with one kitchen drawer. Not the pantry, not the whole kitchen, not even the whole junk drawer situation — one single utensil drawer. She spent forty minutes on it, used some bamboo dividers she had ordered, and sent me a photo of the finished result with seventeen exclamation marks. That one drawer gave her the confidence and the momentum to do another, and another, and eventually the whole kitchen over the course of a month. That is how home organization actually works for real people in real homes.
Your first assignment: Pick one small space — genuinely small, something you can finish in under an hour — and commit to doing just that one space this week. Don't plan the next thing yet. Just do this one thing well and let yourself feel good about it.
Step 2: Learn the Three-Box Method Before You Touch Anything
Okay, so you have chosen your small starting space. Before you touch a single thing inside it, you need three boxes, bags, or piles. Label them clearly in your mind or on paper: Keep, Donate, and Trash.
Every single item you pull out of your space goes into one of those three categories — no exceptions, no maybes, no "I'll deal with this later" pile. Because the "deal with this later" pile is where organizing projects go to die. It grows, it follows you around, and it eventually ends up back where it started.
Keep means this item is used regularly, is in good condition, belongs in this space or has a clear home elsewhere in the house, and you would genuinely miss it if it were gone.
Donate means this item is in good condition but you don't use it, don't need it, or don't love it enough for it to take up space in your home. Someone else could use it. It goes in the donate bag immediately — and that bag leaves your house within 24 hours of being filled.
Trash means this item is broken, expired, damaged beyond use, or so worn out that even a donation center wouldn't want it. It goes in the bin. Without guilt. Worn-out things are not dishonoring anything by being thrown away — they served their purpose and it's over.
The hardest part of the three-box method for beginners is the Donate pile — specifically the guilt around donating things that cost money or were gifts. I want to address this directly: the money spent on an item is already gone whether the item stays in your home or leaves it. Keeping something you don't use doesn't recover the cost. It just costs you space and visual noise on top of the money. Let it go. It does not owe you continued tenancy in your home for having once been purchased.
Step 3: Clean the Space Before You Put Anything Back
This step takes ten minutes and makes an enormous difference to how good the finished result feels — and yet it is almost always skipped because it feels like a delay to getting things organized.
Before anything goes back into your newly decluttered space, wipe it down. Vacuum out the drawer. Wipe the shelf. Clean the surface. Whatever the space needs to be genuinely clean, do it now while it's completely empty and accessible. A clean, empty space before you organize it makes the finished result feel so much more intentional and fresh — and the clean surface under your organizers means the whole thing starts from a place of care.
This is also the moment to assess the space itself. Is the shelf height right for what you're going to store there? Are there any damage, mold, or moisture issues that need addressing before you put things back? Is there a nail or a hook you could add that would make the space work better? Address these things now while the space is empty and easy to work in.
It takes ten minutes. It matters more than it sounds. Do not skip it.
Step 4: Put Things Back With Intention — Give Everything a Home
Now the most important part — and this is where actual organization happens versus just tidying. You are going to return your Keep items to the space, but you are going to give each category of item a designated home within that space. Not just put things back — assign them a place.
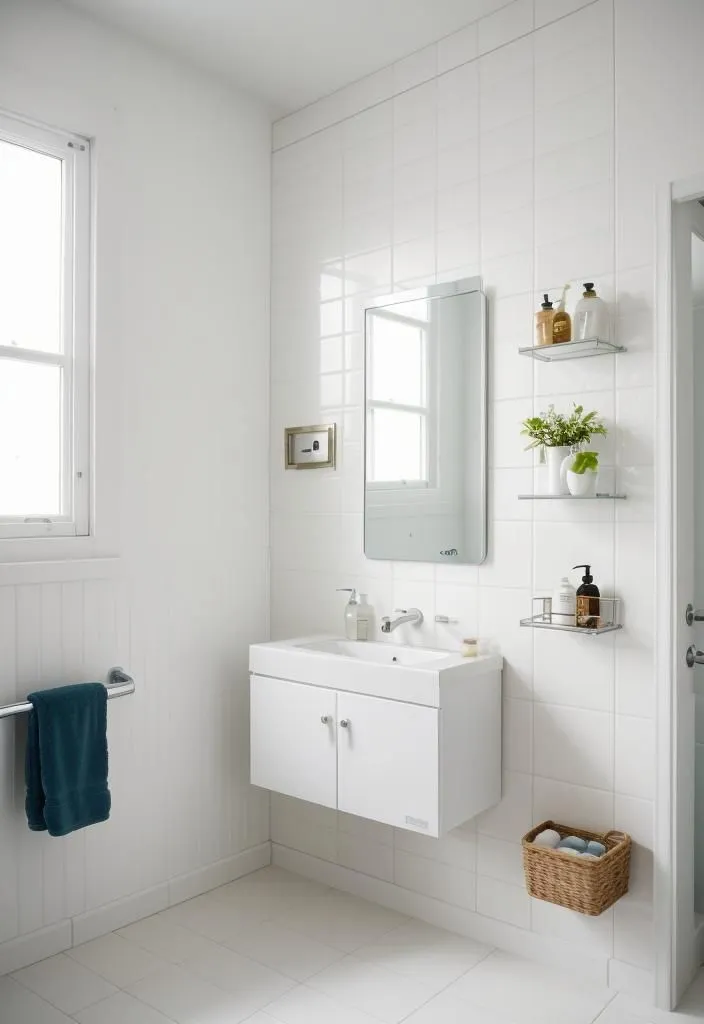
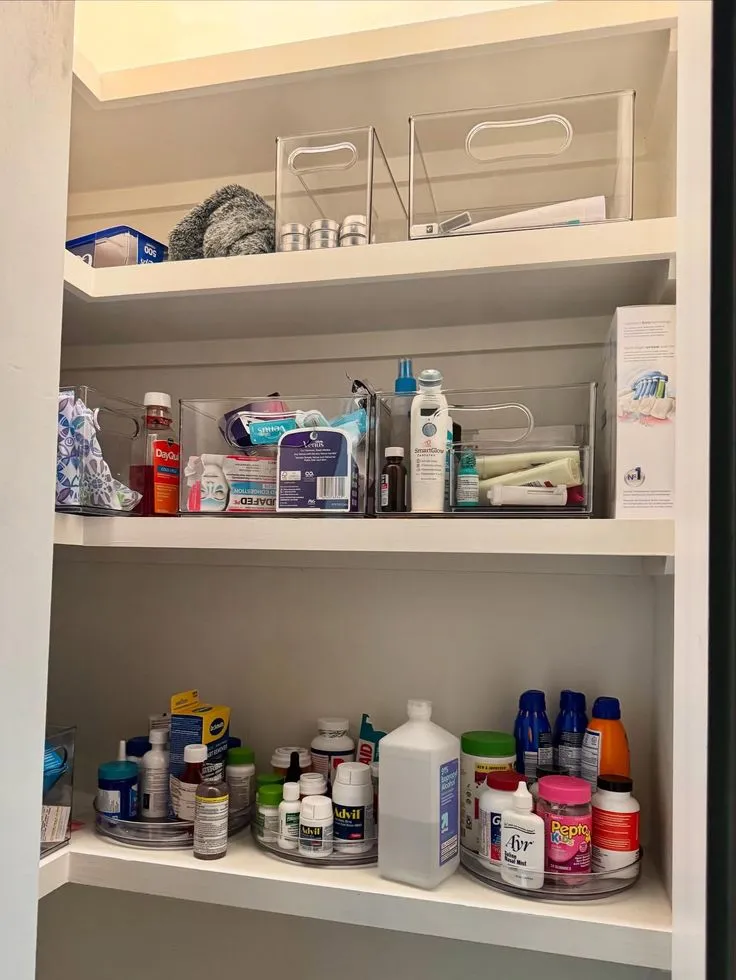
The logic for where things live is simple: things should live as close as possible to where they are used, and the most frequently accessed things should be the most easily accessible. In a kitchen drawer, the spatula you use every day goes at the front. The potato masher you use monthly goes at the back. In a bathroom cabinet, your daily skincare goes at eye level. The backup products you rarely reach for go up high or in the back.
As you put things back, think about whether a simple organizer would make the space work better. A bamboo divider in a drawer. A small bin on a shelf to corral a category of items. A hook on the inside of the door for frequently grabbed things. You don't need to go shopping right now — work with what you have first and identify what would genuinely help before you buy anything. The rule for beginners is always: identify the need before buying the solution.
When everything is back in its designated home, step back and look at it. That space — that one small space — is now organized. Everything in it has a home. When you use something from it, you return it to its home. That is the entire system. That is all organization ever is.
Step 5: Understand the Five Most Important Storage Principles for Beginners
Now that you have one organized space under your belt, let's talk about the principles that make every space you organize from here forward easier and more successful. These are the foundations of home storage for beginners — the things I wish someone had told me when I started.
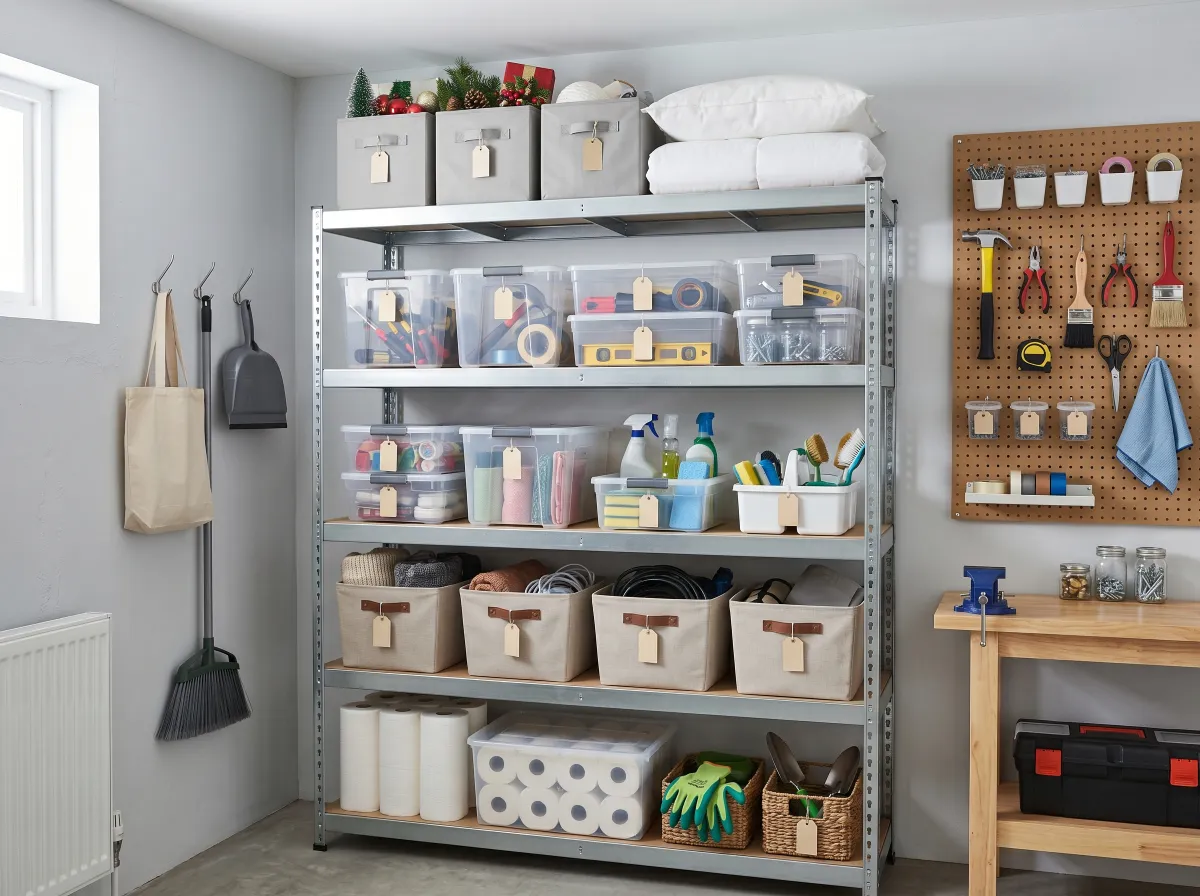
Principle 1: Like with like, always. Everything in its category, every category together. Batteries with batteries. Pens with pens. Tea towels with tea towels. Baking supplies with baking supplies. When like things live together, you always know where to look for a category of item and you always know where it goes back.
Principle 2: Visible is accessible, hidden is forgotten. If you can't see it, you don't know you have it, you don't use it, and you buy duplicates of it. Wherever possible, store things so they're visible — clear bins, open shelves for frequently used items, transparent containers. Reserve hidden storage for things you need to keep but don't need to access often.
Principle 3: Easy to get out, easy to put away. If something is hard to put away, it won't get put away. Every item's home should be as easy to return to as it is to take from. If you're finding that things are never making it back to their home, the home is probably too inconvenient. Move it somewhere easier.
Principle 4: Less is always easier to organize than more. The fewer things you have in a space, the easier it is to keep that space organized. Decluttering is not a one-time event — it's a habit of regularly letting go of things that are no longer serving you, so the things that remain always have plenty of room and always have a home.
Principle 5: Label, label, label. For beginners especially, labels are the difference between a system you'll maintain and one that drifts back into chaos. When a bin is labeled, there's no ambiguity about where things go. When a shelf zone is labeled, everyone in the household can return things correctly. Labels remove the decision-making from the putting-away process, which makes putting things away effortless.
Step 6: The Beginner's Essential Shopping List (What to Actually Buy First)
One of the most common beginner mistakes is going to the store and buying a whole cart of organizing products before you know what you actually need. I've done it. You've probably done it. And you end up with a collection of bins that don't quite fit anywhere and a lighter wallet and a home that doesn't feel any more organized.
Here is the beginner's essential shopping list — the small, affordable set of products that will handle the majority of organizing needs in most homes without requiring you to buy something for every specific situation before you know what your specific situations are.
Clear bins in two sizes (small and large): These go everywhere. Pantry, bathroom cabinets, fridge, under the sink, closet shelves. Always clear so you can see the contents. A pack of small and a pack of large will cover most situations.
A label maker or label stickers: Non-negotiable. Even handwritten labels on masking tape work fine to start. The label is what makes a system sustainable.
Drawer dividers: The expandable kind that press-fit into any drawer without tools. One set handles multiple drawers of different sizes.
A few baskets or fabric bins for open shelves: For things you want to corral on a visible shelf in a way that looks intentional. Start with a pack of three or four in a matching style.
Command hooks and strips in a variety pack: For creating hanging storage on walls, the backs of doors, and the insides of cabinets without drilling holes. An absolute essential for renters and beginners who are still figuring out their permanent solutions.
That is the entire beginner's kit. You do not need the label maker with the pretty fonts yet. You do not need matching acrylic organizers in seventeen sizes yet. You do not need any specific system or brand. Start with these five things and they will take you a very long way.
Step 7: Build the Daily Habit That Makes Everything Last
Here is the honest truth that nobody in the home organization world says clearly enough: organizing your home is the beginning, not the end. A beautifully organized space stays organized only if you do one small thing consistently: put things back where they belong when you're done with them.
That's it. That's the maintenance plan.
The daily habit is this: at the end of every day — or every evening before you go to bed, or every morning, whatever timing works for your life — do a ten to fifteen minute reset of your home. Walk through every room. Return anything that has migrated out of its home back to where it belongs. Clear any surfaces that have accumulated things. It takes fifteen minutes when done daily. It takes two hours when left for a week.
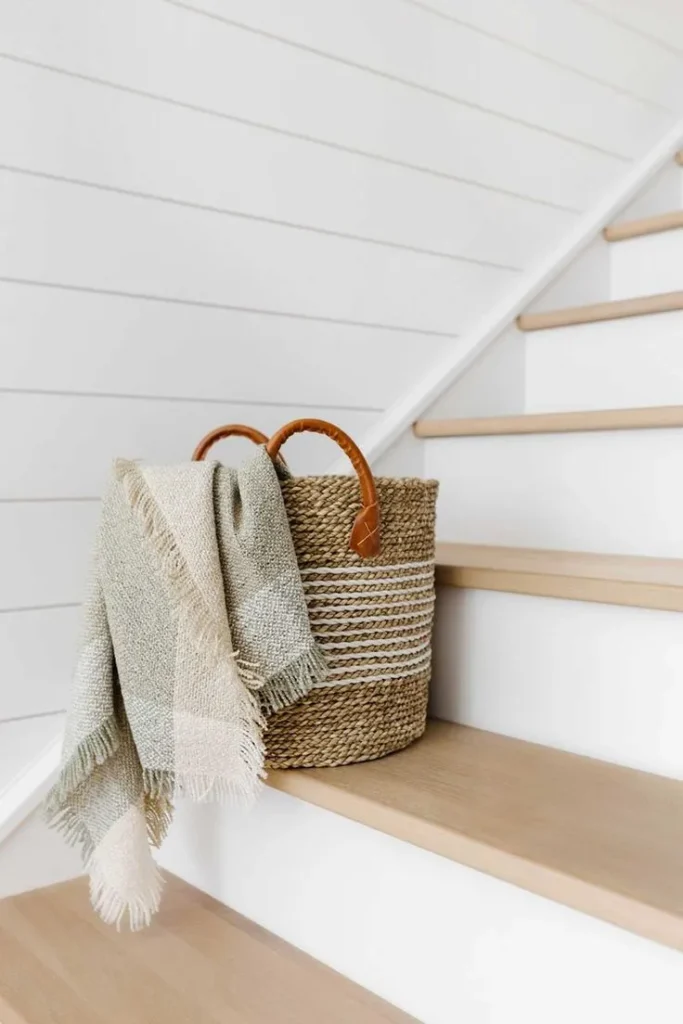
When everything has a home — which is what you've been building — the reset is almost automatic. You pick up the remote and you put it in the remote basket on the shelf. You take off your coat and you hang it on the hook. You finish your cup of tea and you take it to the kitchen. None of these feel like organizing. They just feel like living in a home where things have places. That is the goal.
My friend Hira does her reset every evening after dinner while her partner cleans up the kitchen. She said it took about two weeks of the daily habit before it started feeling natural, and now three months later it's just part of how she lives. Her home looks consistently, sustainably organized — not because she spends hours on it, but because she does fifteen minutes every day and it's become as automatic as brushing her teeth.
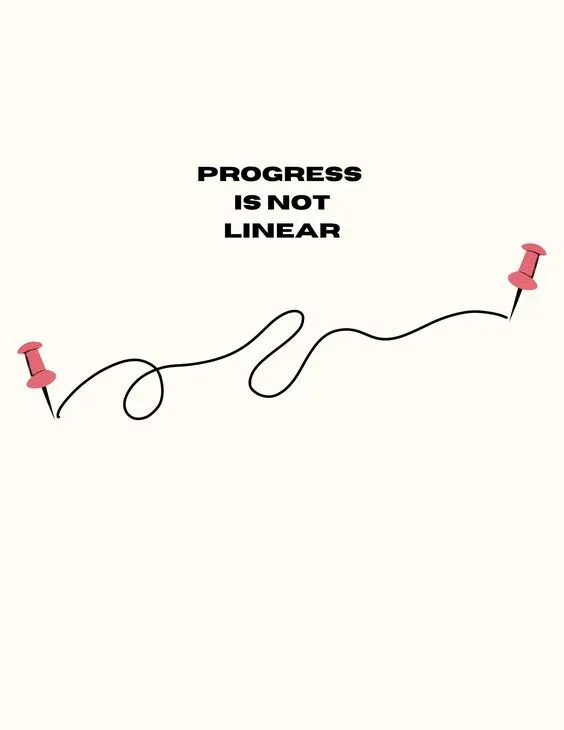
Step 8: Know That Progress Is Not Linear and That's Completely Fine
This is the step that I wish every beginner home storage guide included, because nobody talks about it and it trips almost everyone up at some point.
There will be weeks where your home feels beautifully organized and running like a system. And there will be weeks where life gets busy or hard or complicated and the reset doesn't happen and things pile up and your kitchen counter looks like you've never heard of organization in your life.
That is normal. That is completely, one hundred percent normal.
The measure of a good home storage system is not whether your home is perfectly organized every single day. It is how quickly and easily you can return it to order when life has temporarily gotten away from you. A good system means that a two-hour Sunday afternoon reset gets you back to baseline after even a really chaotic week. A good system means that the baseline itself is manageable rather than overwhelming.
Do not use an imperfect week as evidence that you are a person who cannot be organized. You are a person who had a busy week. Those are different things. Reset when you can, without self-criticism, and keep going.
Organization is a practice, not a destination. It is something you do and maintain and return to, not a place you arrive at and stay forever. Give yourself the grace that any practice deserves — patience with the process, kindness with the setbacks, and genuine celebration of the progress.
Step 9: Expand Your System One Space at a Time
Once your first space is organized and you've maintained it for a week or two, you're ready to add another space. And then another. And gradually, one space at a time, your whole home builds into an organized system.
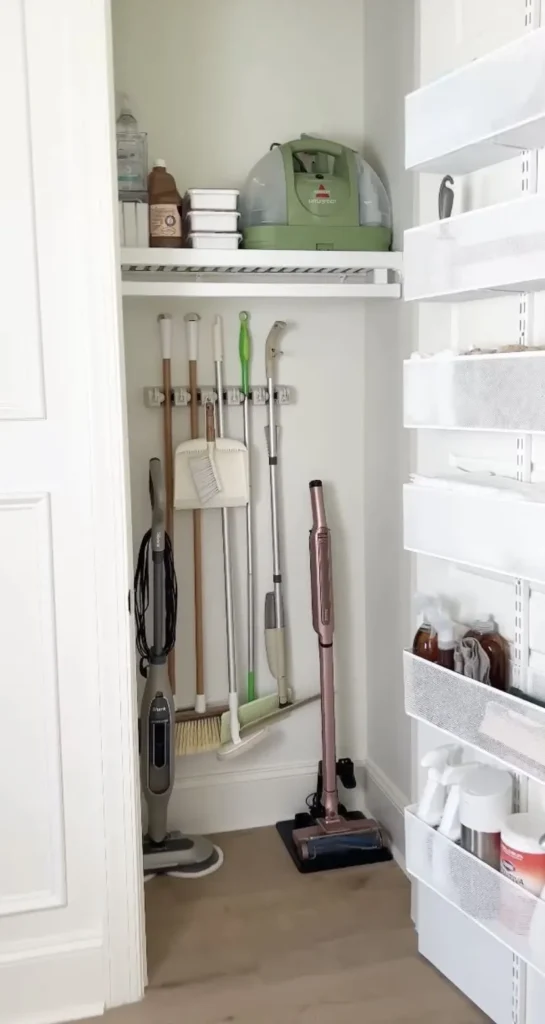
The order in which you tackle spaces matters — start with the areas that affect your daily life the most. The spaces you interact with every single day, the spaces whose chaos causes you the most stress, the spaces where an improvement would have the most immediate impact on your daily experience.
For most people that means: the kitchen surfaces and a key cabinet or drawer first. Then the bedroom and the closet. Then the bathroom. Then the entryway. Then the less-visible storage zones like linen closets, utility spaces, and eventually longer-term storage like attics or garages.
But this is your home and your life, so if your biggest source of daily frustration is your bedroom closet — start there. If it's the entryway chaos every morning when you're trying to leave for work — start there. The right starting point is wherever the improvement will make the biggest daily difference for you specifically.
Every space you organize adds momentum. Every system you build adds confidence. Every label you stick and every bin you fill and every drawer you sort is a step toward a home that works for you — and the cumulative effect of all those steps, taken one at a time over weeks and months, is genuinely extraordinary.
A Final Word for Every Beginner Reading This
If you have made it to the end of this guide, I want to tell you something important: you are already doing the thing that most people don't do. You are learning. You are taking the time to understand how organization actually works rather than just hoping it happens by accident. That matters enormously.
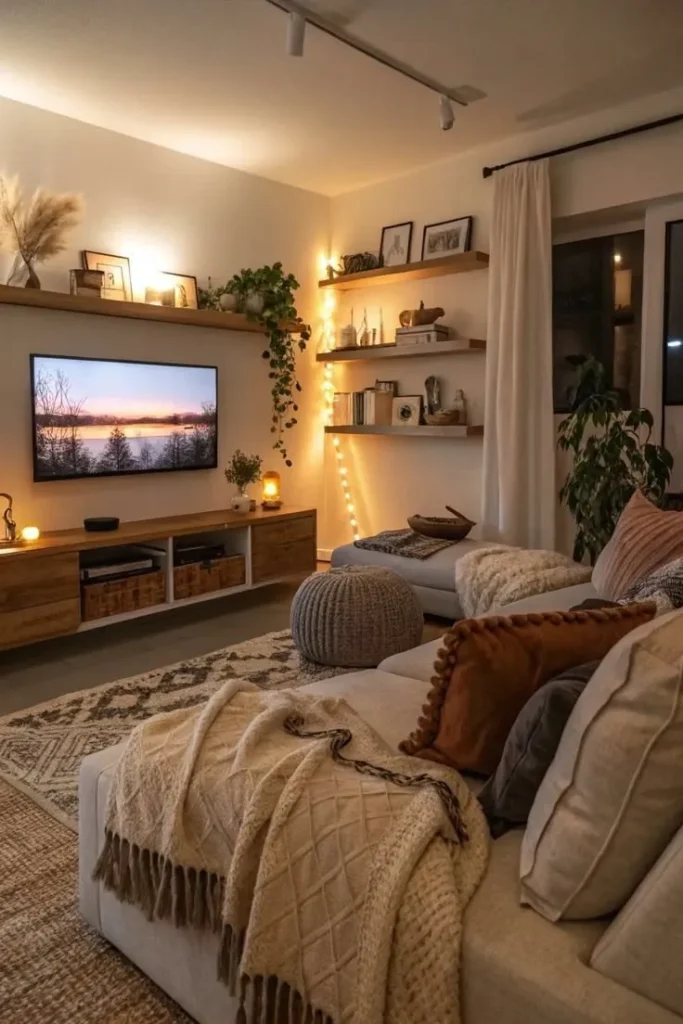
Home storage for beginners is not about achieving perfection. It is not about having the most beautiful pantry on Pinterest or the most color-coordinated closet on Instagram. It is about creating a home that supports your daily life — a space where you can find what you need, where things have homes to return to, where the clutter doesn't overwhelm you and the chaos doesn't drain your energy before the day has even properly begun.
That home is completely within your reach. Not because you need to become a different kind of person, but because you are building a system — one drawer, one shelf, one space at a time — and systems, once built, work.
My friend Hira sent me a photo last week. It was her living room — tidy, surfaces clear, throw folded on the couch, a small plant on the coffee table. She had a caption that just said "I live here and I like it." That caption made me cry a little. Because that is everything. That is the whole point. You deserve to live somewhere you like. And you are going to get there.
Start with one drawer. Start today. Everything else will follow.
Now go pin this entire guide, share it with anyone who has ever said "I'm just not an organized person," and go find your one small starting space. Your organized home begins right now.
Pin this guide and save it — this is the home storage for beginners guide you'll want to share with everyone you know who doesn't know where to start!

Leave a Reply