
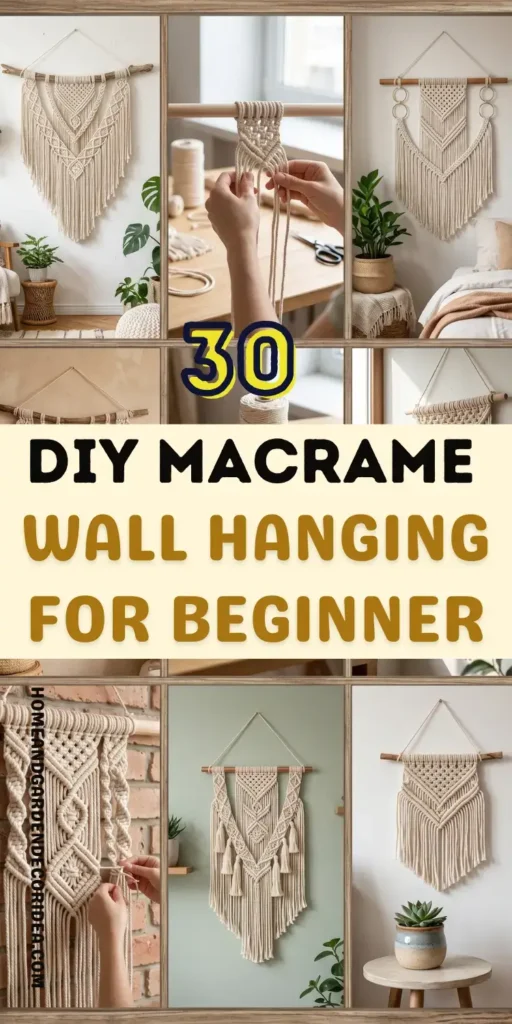
Want to create gorgeous boho wall decor without spending a fortune? This DIY macrame wall hanging for beginners is the perfect project to transform your space with just a few simple knots.
I have to admit something, girl. For the longest time, I thought macrame was one of those crafts that only super creative Pinterest moms could pull off. Every time I saw those gorgeous wall hangings all over Instagram, I assumed they required years of experience and some secret crafting talent I definitely didn’t have.
Then one rainy weekend, after scrolling through way too many home decor videos on TikTok, I decided to try making a DIY macrame wall hanging for beginners. Honestly? I was shocked by how simple it was. Sure, my first attempt wasn’t exactly museum-worthy, lol, but it turned out way better than I expected.
My friend Jess had been encouraging me to try macrame for months. She kept saying it was one of the easiest DIY hobbies she’d ever learned. I finally listened, and now I’m seriously obsessed. My apartment suddenly feels more cozy, more stylish, and way more “Pinterest-worthy” without spending hundreds of dollars on decor.
If you’ve been wanting to create your own DIY macrame wall hanging for beginners, you’re in the right place. I’m sharing exactly why this craft is so popular, what supplies you’ll need, beginner-friendly techniques, and a few mistakes I learned the hard way so you don’t have to.
Why a DIY Macrame Wall Hanging for Beginners Is the Perfect First Craft Project
The biggest reason I recommend a DIY macrame wall hanging for beginners is that it’s incredibly forgiving. Unlike painting or sewing, there’s no pressure to be perfect. A few uneven knots actually add character and make your project feel handmade.
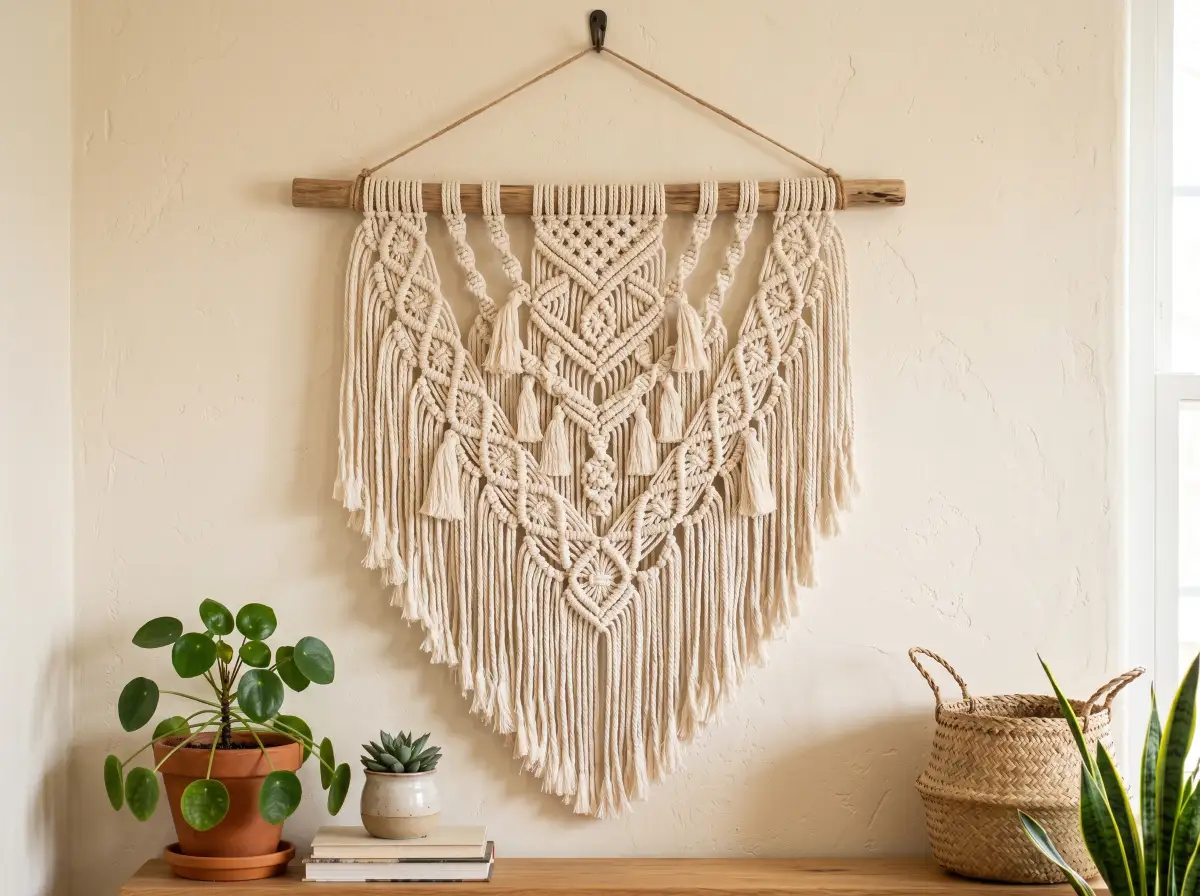
Another reason this DIY macrame wall hanging for beginners is trending on Pinterest is that it instantly creates a cozy boho aesthetic. Even the simplest design can make a blank wall feel intentional and stylish.
Plus, it’s budget-friendly. Most beginner projects cost less than a dinner out, which makes it perfect if you’re decorating on a budget.
I also love that you don’t need a dedicated craft room. You can literally work on your macrame project while binge-watching your favorite show.
Supplies You’ll Need for a DIY Macrame Wall Hanging for Beginners
Before we dive into knotting, let’s talk supplies. The good news? You don’t need much.
| Supply | Why You Need It | Beginner Friendly? |
|---|---|---|
| Cotton Macrame Cord | Main material for knots | Yes |
| Wooden Dowel | Supports the hanging | Yes |
| Scissors | Trimming cord | Yes |
| Measuring Tape | Even cord lengths | Yes |
| Comb or Brush | Creates fringe effects | Optional |
I highly recommend starting with soft cotton cord. It’s easier to handle and much more forgiving than stiffer materials.
When I made my first DIY macrame wall hanging for beginners, I bought fancy supplies that weren’t necessary. Save your money and start simple.
Trust me, the basic materials work beautifully.
Learn the Basic Knots First
The secret to mastering a DIY macrame wall hanging for beginners isn’t buying expensive supplies—it’s learning a few foundational knots.
The square knot is probably the most important one. You’ll see it in countless viral macrame projects because it creates those gorgeous geometric patterns everyone loves.
The lark’s head knot is another must-know. This is typically how you’ll attach your cords to the wooden dowel before you begin creating designs.
Then there’s the half hitch knot. Oh my! This knot can create stunning diagonal lines and intricate-looking patterns with surprisingly little effort.
My first project only used these three knots, and guests constantly asked where I bought it.
Start With a Small DIY Macrame Wall Hanging for Beginners
One of the biggest mistakes beginners make is starting too big.
I know those giant statement pieces look incredible, but they’re time-consuming and can feel overwhelming if you’re just learning.
A smaller DIY macrame wall hanging for beginners lets you practice techniques without investing hours into one project.
My friend Sarah jumped straight into a huge macrame design she found on Pinterest. Two weeks later, she still hadn’t finished it and completely lost motivation.
Meanwhile, I finished my smaller project in one afternoon and immediately wanted to make another.
Create Texture With Fringe and Layers

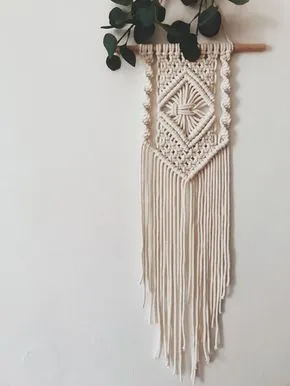
One reason a DIY macrame wall hanging for beginners looks so expensive is the texture.
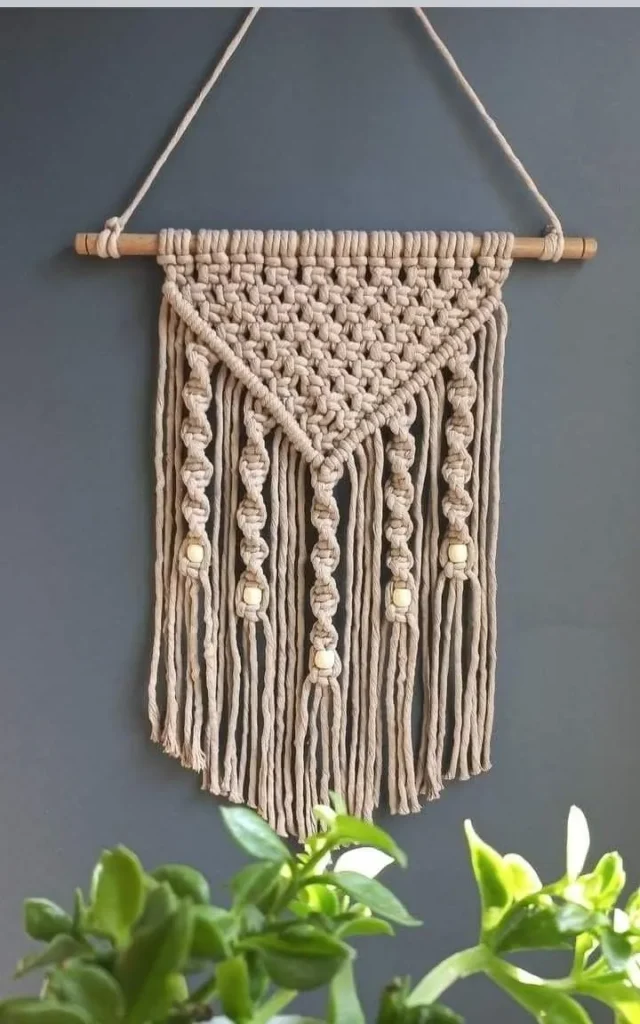
Adding fringe instantly creates movement and visual interest. It’s one of the easiest ways to make a simple design look professional.
After tying your knots, trim the bottom cords into a V shape, diagonal pattern, or curved design.
Then gently brush the ends with a comb. This creates that soft, dreamy fringe effect that is absolutely everywhere on Instagram right now.
I can’t say enough about how much this simple step transforms the finished piece.
Experiment With Different Styles
The best thing about a DIY macrame wall hanging for beginners is how customizable it is.
Love minimalist decor? Stick to clean lines and simple knot patterns.
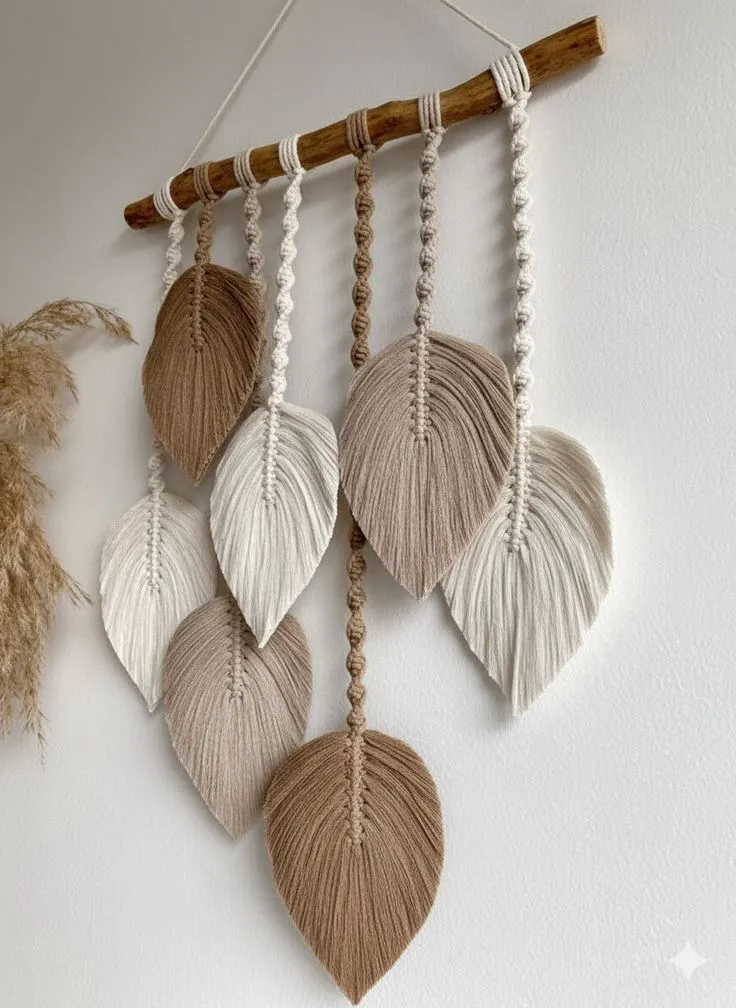
Prefer a boho aesthetic? Add long fringe, feathers, beads, or layered designs.
Want something modern? Try geometric shapes and shorter cord lengths.
Here’s a quick comparison:
| Style | Best For | Difficulty |
|---|---|---|
| Minimalist | Modern apartments | Easy |
| Boho | Cozy spaces | Easy |
| Geometric | Contemporary decor | Medium |
| Layered Fringe | Statement walls | Medium |
This flexibility is one reason macrame remains one of the most popular DIY decor trends year after year.
Display Your DIY Macrame Wall Hanging Like a Pro
After spending time creating your DIY macrame wall hanging for beginners, you’ll want to show it off properly.
I love hanging mine above a bed, dresser, entryway table, or reading nook.
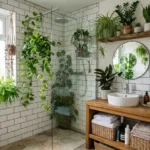
The texture pairs beautifully with plants, woven baskets, and neutral color palettes.
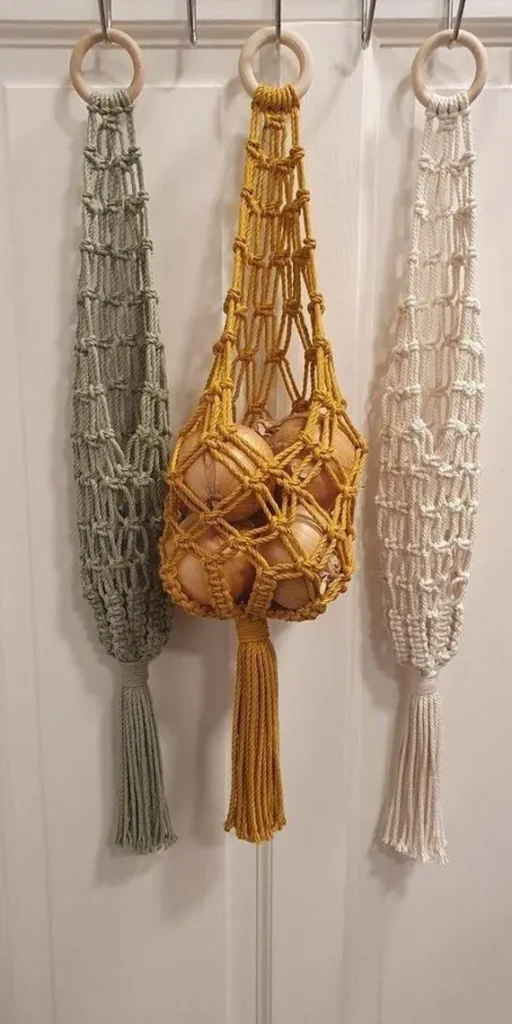
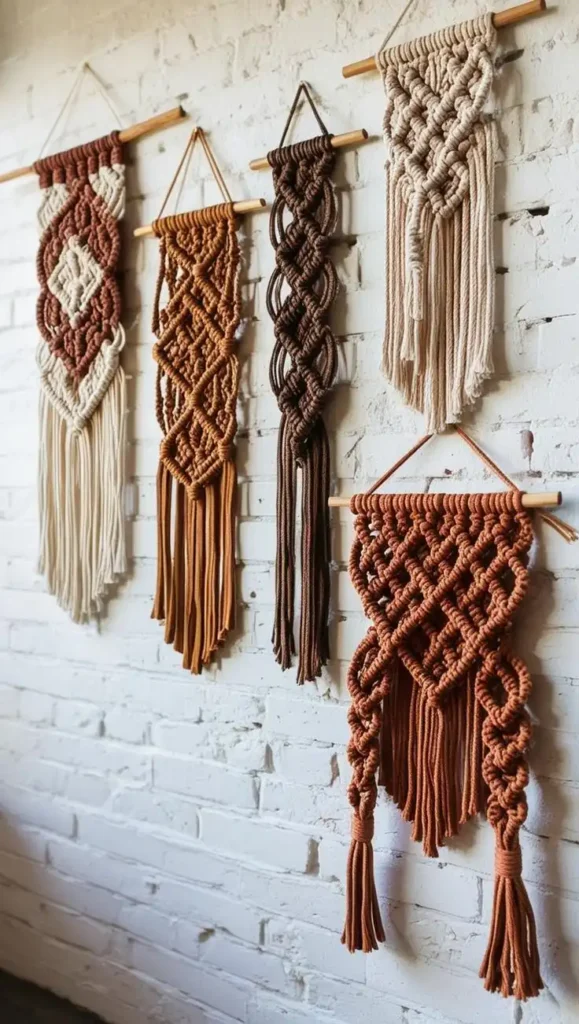
For extra impact, try grouping multiple macrame pieces together to create a gallery wall effect.
This trick is currently trending on Pinterest and creates a custom designer look without the designer price tag.
Common Beginner Mistakes to Avoid
Let’s save you a little frustration.
One mistake is cutting cords too short. Always give yourself extra length because knots use more cord than you think.
Another mistake is pulling knots inconsistently. Try to keep tension relatively even throughout your project.
I also don’t recommend rushing through patterns. Take your time and enjoy the process.
Remember, your first DIY macrame wall hanging for beginners doesn’t need to be perfect. The goal is to learn and have fun.
My Favorite Pro Tips for a Stunning DIY Macrame Wall Hanging for Beginners
These little tricks made a huge difference in my projects:
| Pro Tip | Why It Works |
|---|---|
| Use painter’s tape to secure dowels | Prevents movement while knotting |
| Measure cords twice | Saves material |
| Brush fringe slowly | Prevents tangling |
| Start with neutral colors | Matches most decor |
| Take progress photos | Helps spot uneven sections |
One unique trick I learned from Jess is to lightly steam the finished piece after hanging it. It helps the cords relax and look more polished.
Such a small detail, but it makes a huge difference.
Final Thoughts
If you’ve been thinking about trying a DIY macrame wall hanging for beginners, consider this your sign to go for it.
It’s affordable, relaxing, beginner-friendly, and creates beautiful decor that looks far more expensive than it actually is. Plus, there’s something incredibly satisfying about looking at your wall and knowing you made that piece yourself.
My first project wasn’t perfect, and yours doesn’t have to be either. What matters is enjoying the creative process and adding a little personality to your home.
So grab some cord, put on your favorite playlist, and give this DIY macrame wall hanging for beginners a try. I have a feeling you’ll be just as obsessed as I am.


Leave a Reply