
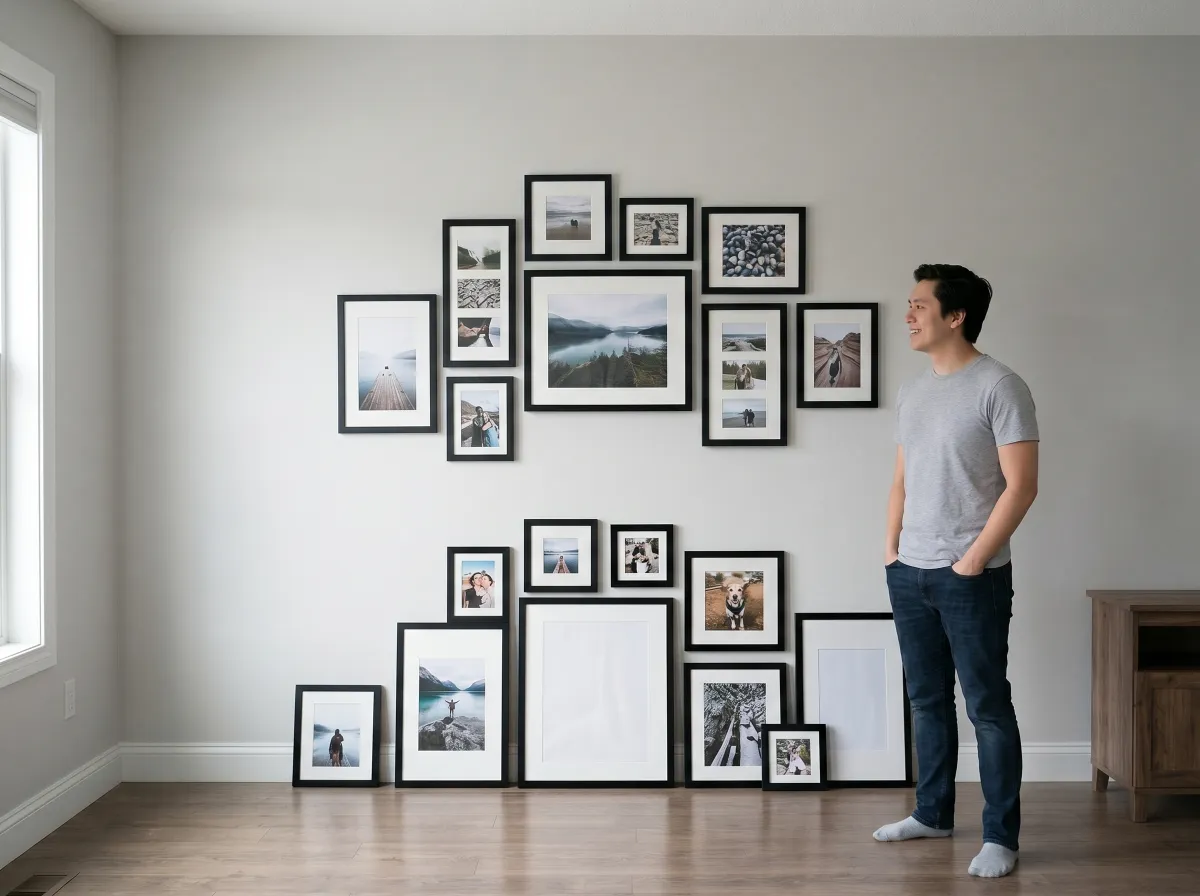
If you’ve ever stared at a blank wall, held a hammer in one hand, a picture frame in the other, and thought, “I am absolutely going to mess this up,” girl, this guide is for you.
I still remember the first time I tried hanging a gallery wall in my apartment. I was feeling super confident after spending way too many hours scrolling Pinterest and saving gorgeous, aesthetic gallery wall inspiration boards. Five nail holes later, my wall looked like it had survived a small disaster. Not exactly the Instagram-worthy moment I had imagined, lol.
My friend Jess had a similar experience. She skipped the planning process entirely, started hammering immediately, and ended up with frames that looked like they were slowly sliding downhill. We’ve all been there, right?
The good news is that learning how to hang a gallery wall step by step doesn’t have to involve stress, damaged walls, or expensive repairs. Once I figured out a simple system, everything changed. Now it’s honestly one of my favorite decorating projects because it makes any room feel polished and personalized.
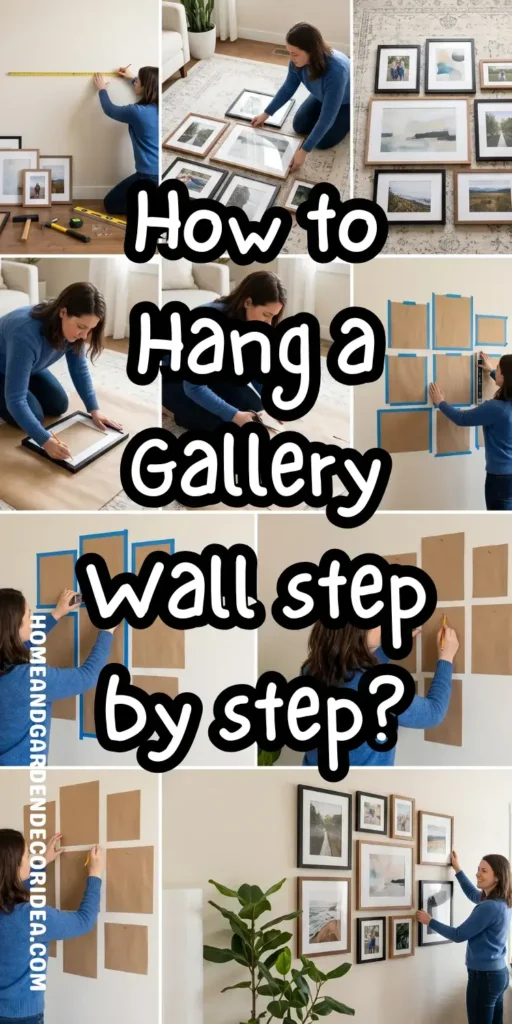
In this guide, I’ll walk you through how to hang a gallery wall step by step, from planning your layout to hanging frames perfectly the first time. Plus, I’ll share some pro tips that saved my walls and my sanity.
Why Planning Your Gallery Wall First Is Everything
Before we talk about nails and hooks, let’s talk about why planning matters so much.
The biggest mistake people make when learning how to hang a gallery wall step by step is rushing straight to hanging. Trust me, I know the temptation. You get excited and want instant results.
But spending just 20 minutes planning can save you from patching dozens of holes later. This is one of the most popular home decor tips on Pinterest for a reason.
When I started mapping out my gallery wall beforehand, the entire project became easier, faster, and way more professional-looking.
Quick Planning Comparison
| Without Planning | With Planning |
|---|---|
| Extra nail holes | Minimal wall damage |
| Crooked layout | Balanced design |
| Wasted time | Faster installation |
| Frustration | Confidence |
| More wall repairs | Cleaner finish |
Step 1: Choose Your Gallery Wall Style
The first step in how to hang a gallery wall step by step is deciding on the overall vibe.
Why is this important? Because your layout determines everything else, including spacing, frame sizes, and placement.
Some people love a perfectly symmetrical gallery wall. Others prefer the collected-over-time aesthetic that’s currently viral on TikTok.
Personally, I’m seriously obsessed with eclectic gallery walls. They feel cozy, personal, and less intimidating to create.
Popular styles include:
| Style | Best For |
|---|---|
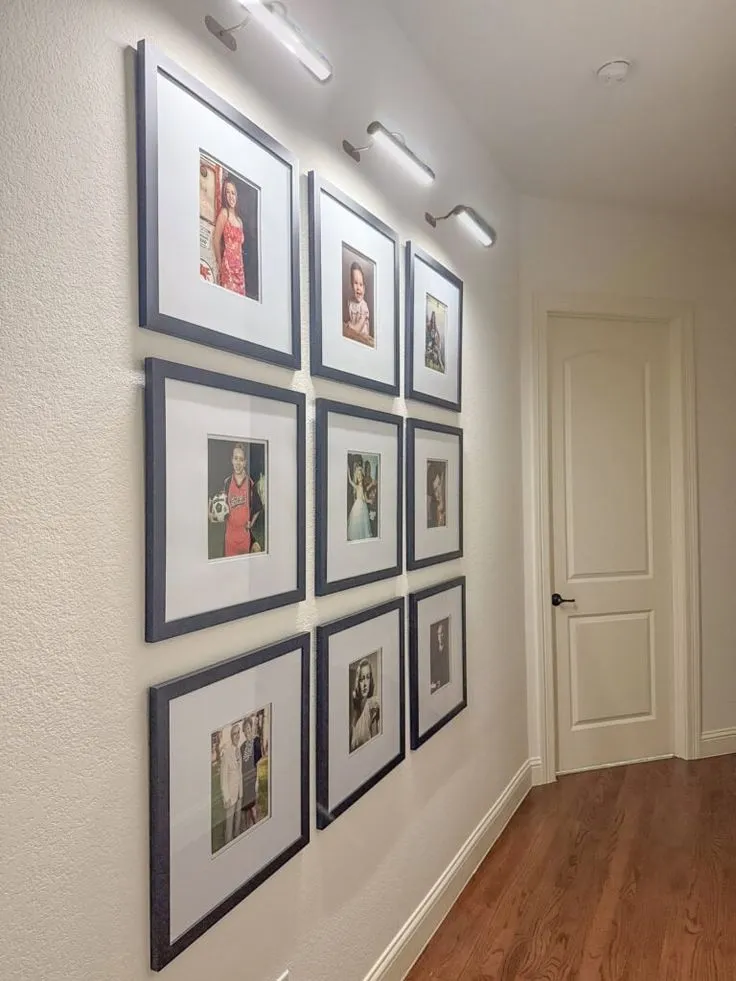
| Symmetrical | Modern homes |
| Grid Layout | Minimalist spaces |
| Eclectic Mix | Cozy aesthetic rooms |
| Floor-to-Ceiling | Large walls |
| Picture Ledge Style | Renters |
Choose one style before moving forward. It’ll make every other decision easier.
Step 2: Gather Your Artwork and Frames
One reason how to hang a gallery wall step by step can feel overwhelming is because people try to build the collection while hanging it.
I highly recommend gathering everything first.
This can include family photos, art prints, postcards, mirrors, typography prints, travel photos, or even pressed flowers. One of my friends created an entire gallery wall using thrifted vintage frames, and oh my, it looked amazing.
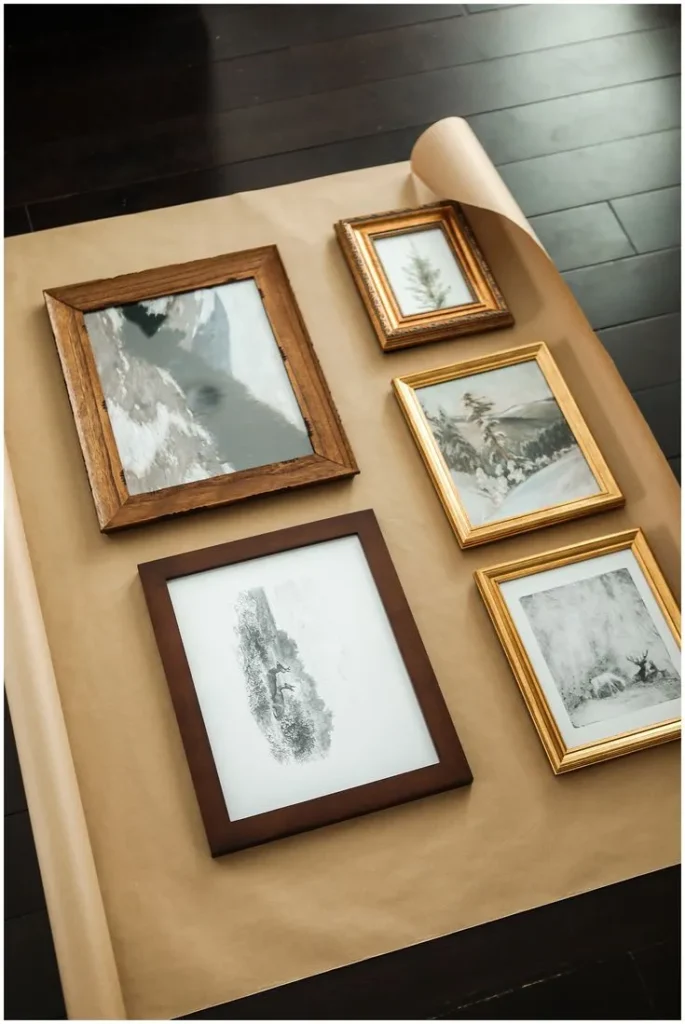
Lay everything on the floor and see how the pieces work together.
If something feels out of place, remove it now instead of after it’s already hanging on the wall.
Step 3: Create a Layout on the Floor
This is probably the most important part of how to hang a gallery wall step by step.
Why? Because mistakes are free on the floor.
I literally move frames around for 15 or 20 minutes until everything feels balanced. Sometimes the layout I imagined ends up looking completely different, and that’s okay.
Start with your largest piece in the center or slightly off-center. Then build outward using medium and smaller frames.
Try to keep spacing between frames consistent. Usually 2–3 inches works beautifully.
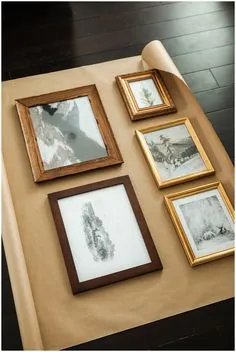
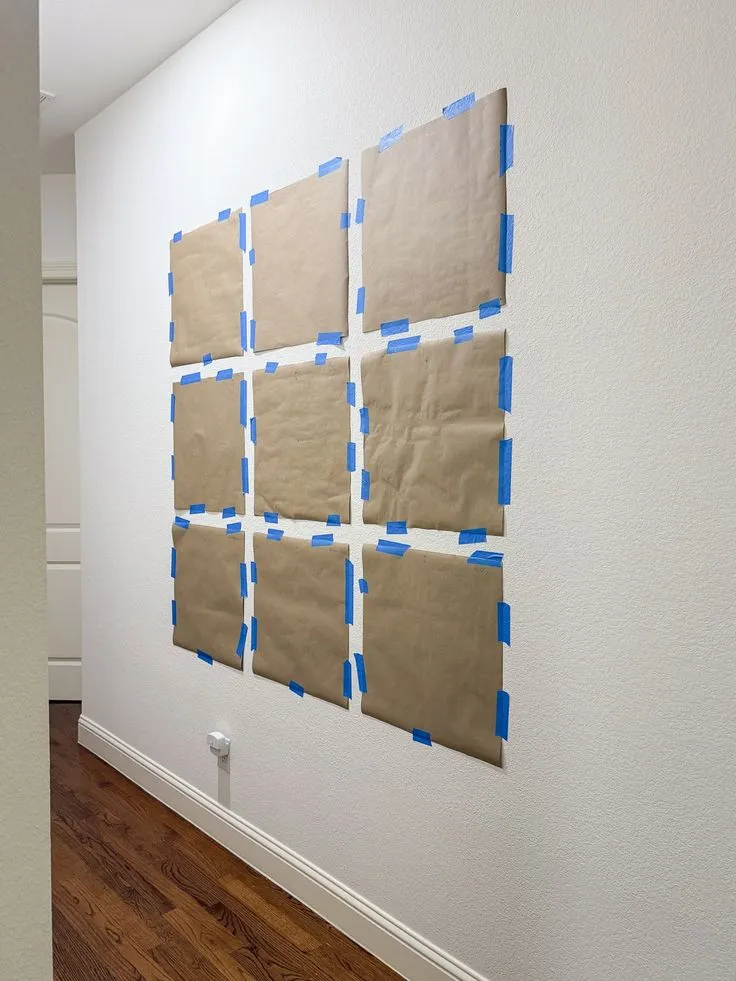
Step 4: Trace Your Frames on Paper
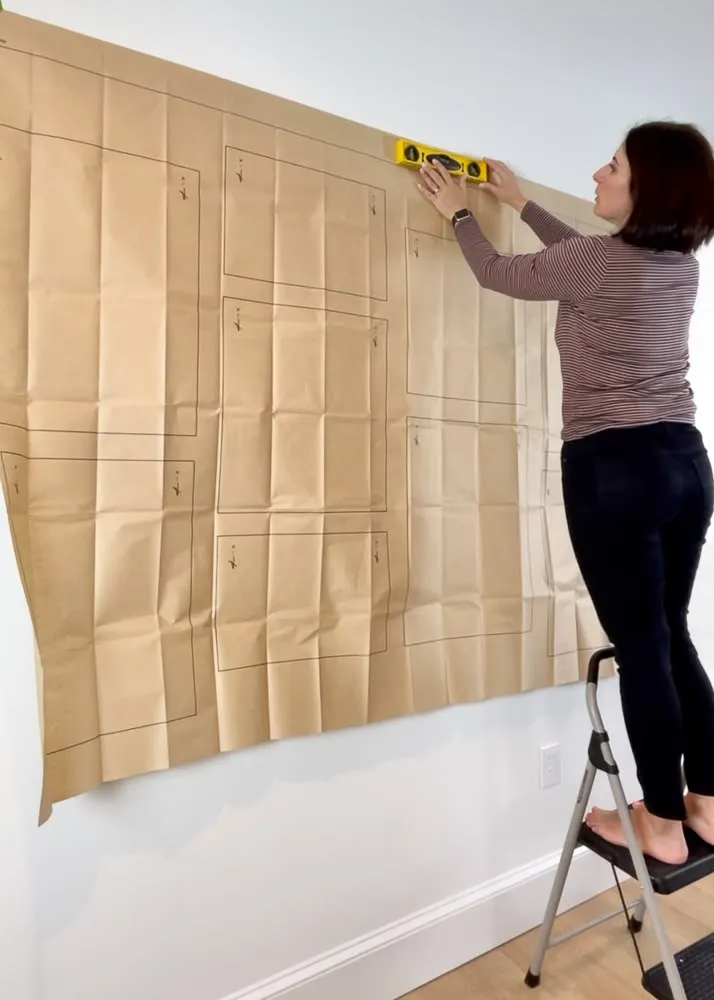
Girl, this trick changed my life.
One of the smartest ways to master how to hang a gallery wall step by step is using paper templates.
Simply trace each frame onto kraft paper, newspaper, or packing paper. Cut out the shapes and label them.
Then tape those paper templates directly onto the wall.
You can step back, evaluate the arrangement, and make adjustments without making a single hole. Honestly, I can’t say enough about this method.
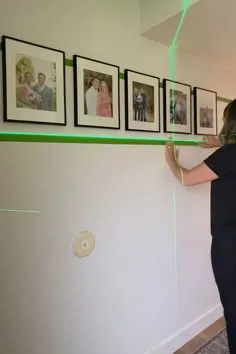
Step 5: Use Painter’s Tape Before Making Holes
This is where wall protection becomes a priority.
When learning how to hang a gallery wall step by step, many people worry about damaging paint. Painter’s tape helps prevent unnecessary marks while you’re measuring.
Mark hanging points directly on the tape rather than the wall itself.
If adjustments are needed, simply remove and reposition the tape.
This small trick makes the process feel so much less stressful.
Step 6: Measure Twice, Hang Once
I know, I know. This sounds like advice your dad would give.
But seriously, when following how to hang a gallery wall step by step, accurate measurements are everything.
Measure:
- Distance between frames
- Distance from furniture
- Frame hanging hardware location
- Center alignment
My friend Lauren skipped this step once and had to rehang three large frames. She was not happy, lol.
A measuring tape and level are your best friends here.
Step 7: Choose Damage-Free Hanging Methods
One of the biggest reasons people search for how to hang a gallery wall step by step is because they’re afraid of ruining their walls.
The good news? You have options.
Hanging Method Comparison
| Method | Wall Damage | Best For |
|---|---|---|
| Command Strips | Very Low | Lightweight frames |
| Picture Hooks | Low | Medium frames |
| Nails | Moderate | Heavy artwork |
| Picture Rail Systems | Minimal | Large gallery walls |
| Floating Shelves | Low | Flexible displays |
If you’re renting, I highly recommend removable hanging strips whenever possible.
They’re budget-friendly, renter-friendly, and incredibly convenient.
Step 8: Hang the Center Piece First
Here’s a pro decorator secret.
When following how to hang a gallery wall step by step, always start with the anchor piece.
This is usually the largest frame or the most important artwork.
Once the center piece is perfectly placed, everything else becomes easier to align around it.
Think of it like building a puzzle. You start with the key pieces first.
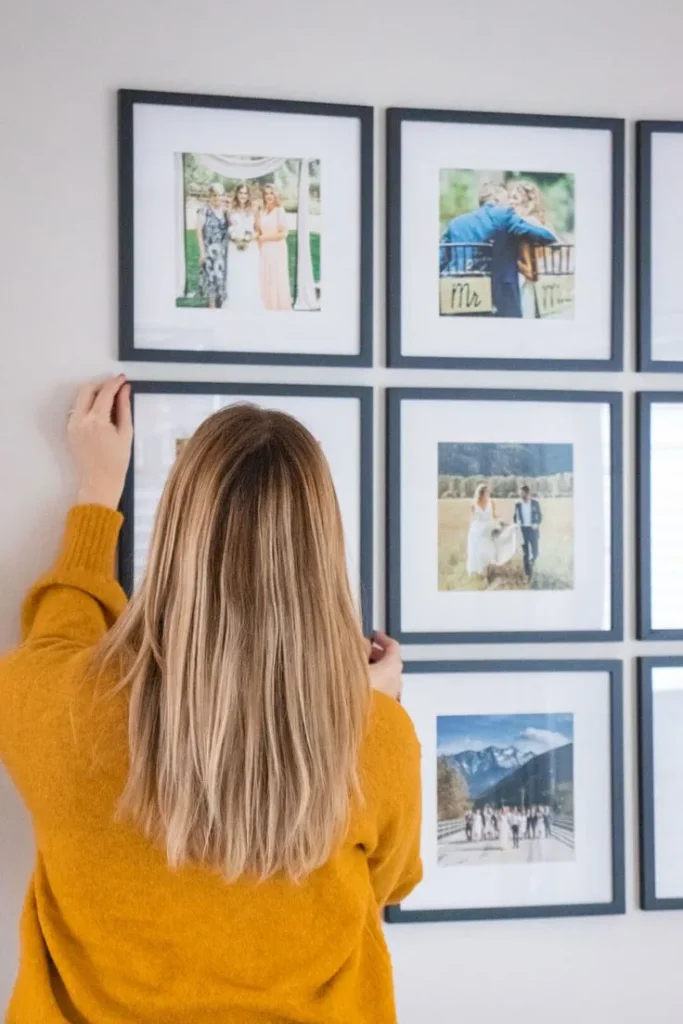
Step 9: Work Outward and Check Alignment Frequently
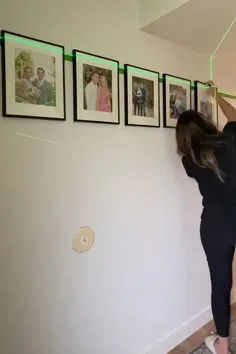
This is where your gallery wall finally comes to life.
As you continue how to hang a gallery wall step by step, add frames one section at a time.
Step back every few frames.
Seriously, physically walk across the room and look at it from a distance.
You’ll notice spacing issues immediately that you might miss up close.
This little habit can make your gallery wall look professionally designed.
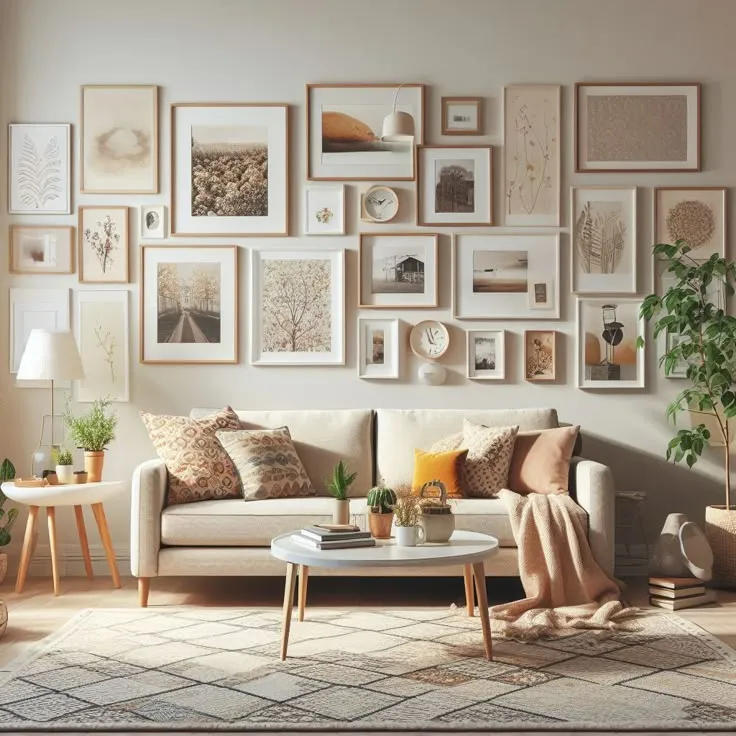
Step 10: Add Finishing Touches and Personality

The best gallery walls don’t feel overly perfect.
That’s why the final step in how to hang a gallery wall step by step is adding personality.
Mix in meaningful photos, travel memories, favorite quotes, or unique finds.
This is what transforms a trendy gallery wall into something that actually feels like you.
I love including one unexpected piece—like a tiny mirror, vintage sketch, or quirky thrift store find—to make the display feel collected rather than copied.
My Favorite Pro Tips for a Perfect Gallery Wall
The Paper Template Trick
Always test layouts with paper templates first. This saves countless holes.
Use a Level App
Don’t have a level? Most smartphones have one built in.
Keep Spacing Consistent
Two to three inches between frames creates a polished look.
Photograph Your Floor Layout
Before moving anything, take a photo. You’ll thank yourself later.
Mix Frame Sizes
Different sizes create visual interest while keeping the arrangement dynamic.
Leave Room to Grow
One of the smartest gallery wall strategies is leaving space for future additions.
Final Thoughts
If there’s one thing I’ve learned about how to hang a gallery wall step by step, it’s that preparation makes all the difference.
The process might seem intimidating at first, but once you map out your layout, use paper templates, and take your time measuring, it’s honestly much easier than people think.
The best part? A gallery wall instantly makes a room feel more stylish, personal, and finished. Every time I walk past mine, I smile because it tells a story that’s uniquely mine.
So grab those frames, girl. Your Pinterest-worthy gallery wall is a lot closer than you think—and this time, your walls can stay hole-free, too.


Leave a Reply