
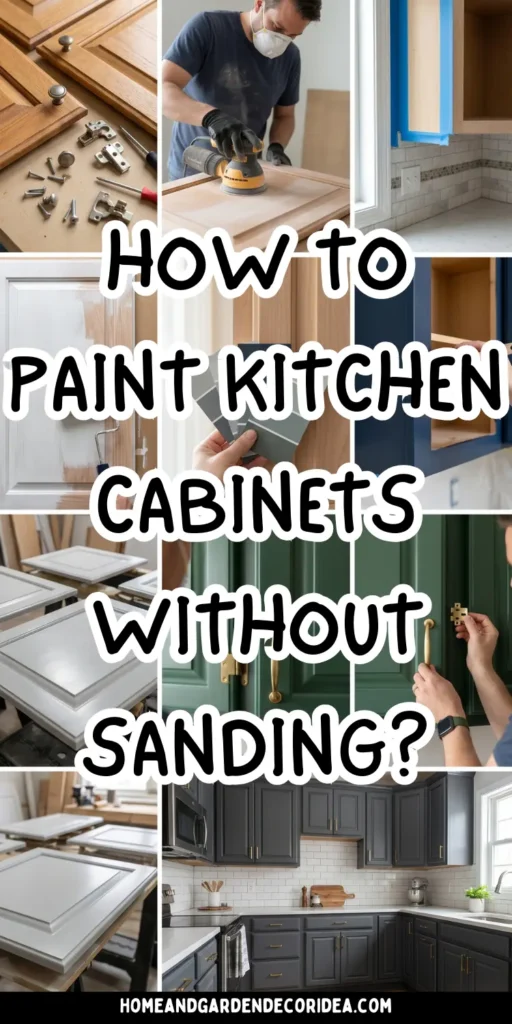
The most honest and practical guide to painting kitchen cabinets without sanding — because yes, it is genuinely possible to get a beautiful, durable, professional-looking cabinet finish without spending a weekend covered in dust and elbow grease.
I want to start this guide with complete honesty: the phrase “without sanding” does not mean “without any prep work.”
If you landed here hoping for a shortcut that involves opening a can of paint, slapping it on your cabinet doors, and having a professional-looking kitchen by sunset — I have to tell you gently that this shortcut does not exist and the people who have tried it have regretted it extensively.
What “without sanding” actually means — and what this guide is going to teach you — is achieving the proper adhesion and smooth surface that sanding creates, using a different method.
Specifically, a liquid deglosser and a good bonding primer, which together accomplish everything that sanding does without generating a single cloud of sawdust, without requiring any power tools, without creating the kind of cleanup situation that makes a DIY project feel like actual torture.
The result — when you follow the process in this guide exactly — is a cabinet finish that is smooth, even, durable, and genuinely beautiful. A finish that holds up to the daily abuse of kitchen cabinet use. A finish that will not peel, will not chip, will not look amateur. A finish that your friends will assume cost you a professional paint job.
My friend Camille did this project last year in her rental apartment — where sanding was not even an option, both because she couldn’t make that much mess in a kitchen she didn’t own and because the noise of a sander in an apartment building was genuinely not viable — and the result was so stunning that her landlord offered to pay her for the improvement when she moved out.
No sanding. No mess. Just the right products, the right process, and two weekends of patient work.
This is the complete, honest, step-by-step guide to painting kitchen cabinets without sanding. I am going to walk you through every single step, every product you need, and every mistake to avoid — so that your project ends with the result you are picturing rather than the frustration that uninformed cabinet painting attempts so often produce. Let’s get into it.
What You Need Before You Start: The Complete Supply List
Before you touch a single cabinet, having every supply on hand is non-negotiable. Running to the hardware store mid-project is how corners get cut and mistakes get made. Buy everything before you begin.
For cleaning and deglossing:
- Trisodium phosphate (TSP) cleaner or a good kitchen degreaser
- Liquid deglosser (also called liquid sandpaper — Klean-Strip and Wilbond are both excellent)
- Clean rags or microfiber cloths — many of them
- Rubber or nitrile gloves for working with deglosser
For priming:
- High-quality bonding primer specifically formulated for cabinets and glossy surfaces (Zinsser Bulls Eye 1-2-3 or STIX Bonding Primer are the professional standards)
- Small foam rollers for flat surfaces (4-inch mini rollers give the smoothest finish)
- Angled synthetic bristle brushes for details and recessed areas (2-inch angled brush for most cabinets)
- Primer-specific cleaner or water, depending on whether your primer is oil or water based
For painting:
- Cabinet-specific paint in your chosen color — this is the single most important product decision and I’ll address it in detail below
- Fresh foam rollers for the paint application (use different rollers from your primer rollers)
- Angled brushes for details
- A paint tray
For prep and hardware:
- Screwdriver or drill for removing cabinet doors and hardware
- Plastic bags and tape for labeling and storing hardware
- Painter’s tape
- Drop cloths to protect countertops and floors
- A clean, dry space to lay cabinet doors flat for painting — trestles, sawhorses, or a table covered in drop cloth
Optional but genuinely useful:
- Cabinet door hangers or hooks that allow you to hang doors vertically while painting — these produce a more even finish and eliminate the need to paint one side, wait for complete drying, then flip
- A paint sprayer if you want the most professional possible finish — not required for excellent results but takes the ceiling of quality significantly higher
The Most Important Product Decision: Choosing the Right Cabinet Paint
This is the decision that more than any other single factor determines whether your no-sand cabinet painting project succeeds or fails — and it is the decision most DIYers make incorrectly by choosing a standard wall paint in the color they want rather than a paint specifically formulated for cabinetry.
Cabinet paint is not wall paint. Wall paint is formulated for surfaces that do not get touched very often. Cabinets get touched, gripped, wiped, slammed, splattered, and generally abused dozens of times every day. A paint that works beautifully on a wall will look amateur and start chipping on a cabinet within months.
The specific properties you need in a cabinet paint are: excellent adhesion to previously painted or glossy surfaces, a hard, durable finish that resists chipping and scratching, good self-leveling so brush marks and roller texture flow out to a smooth finish, and the right sheen level for cabinets (typically satin or semi-gloss for cleanability).
The best cabinet paints available right now:
Benjamin Moore Advance is widely considered the gold standard of cabinet paints by professional painters. It is an alkyd-hybrid waterborne paint that behaves like an oil-based paint (exceptional self-leveling, very hard finish, beautiful smooth surface) while cleaning up with water like a latex paint. It dries slower than typical latex which gives it more time to self-level and eliminate brush marks. Expensive — expect to pay $75 to $85 per gallon — but the finish quality justifies the price completely.
Sherwin-Williams Emerald Urethane Trim Enamel is the other professional standard, and many painters consider it equal to Benjamin Moore Advance depending on the specific application. It has the same alkyd-hybrid properties, the same excellent self-leveling, and a similarly hard, durable finish. Slightly more affordable than Benjamin Moore Advance and widely available at Sherwin-Williams stores.
Rust-Oleum Cabinet Transformations is a budget-friendly option that includes its own bonding base coat, so it is specifically designed for the no-sand approach. It does not produce quite the same level of finish quality as Benjamin Moore Advance or Sherwin-Williams Emerald, but it is a genuinely viable option for renters, for lower-budget projects, and for cabinets that are not in heavy daily use.
Behr Alkyd Semi-Gloss Enamel (available exclusively at Home Depot) is an excellent mid-range option that produces a hard, durable finish at a significantly lower price point than the professional standards.
Do not use any paint not specifically described as cabinet paint, trim enamel, or alkyd. Do not use flat or eggshell sheen. Do not use cheap paint to save money on a project where the paint is the most important variable.
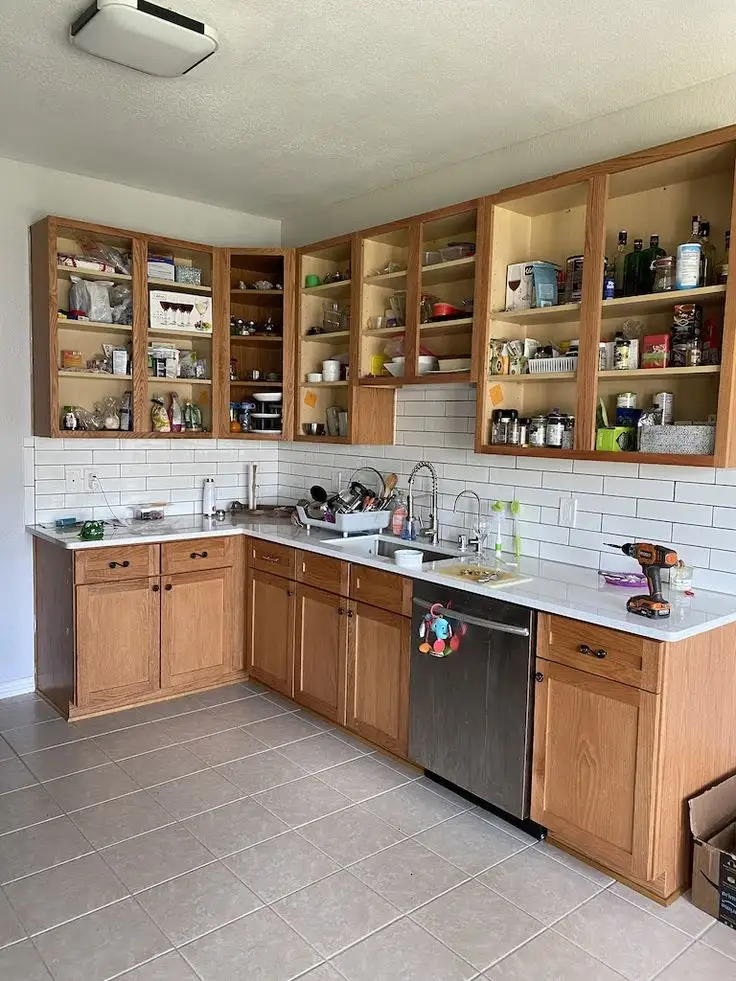
Step 1: Remove Every Cabinet Door, Drawer Front, and Hardware
Painting cabinets in place — without removing the doors — is a beginner’s mistake that produces results that look like a beginner’s mistake. Drips at the hinges, uneven coverage at the edges, paint on the hinges themselves, missed spots on the sides of doors — all of these are the inevitable consequences of painting cabinet doors while they are attached.
Remove every door. Remove every drawer front. Remove every hinge, every knob, every pull. As you remove each piece of hardware, put it in a small plastic bag labeled with which cabinet it came from — this saves enormous confusion on reinstallation day.
Number your cabinet doors on the back with a pencil before they come off, and make a corresponding note of which number belongs to which opening. Cabinet doors look similar to each other and when you have twelve of them leaning against a wall, knowing which goes where without this system is harder than it sounds.
Remove the shelves from the cabinet boxes if they are not fixed — painting the interior of the cabinet boxes without shelves in the way is significantly easier.
Set all removed doors and drawer fronts in a clean, dust-free space. You will be painting them flat, which requires them to be horizontal and stable. Sawhorses with a board across them, a worktable covered in drop cloth, or door-painting hangers all work well.
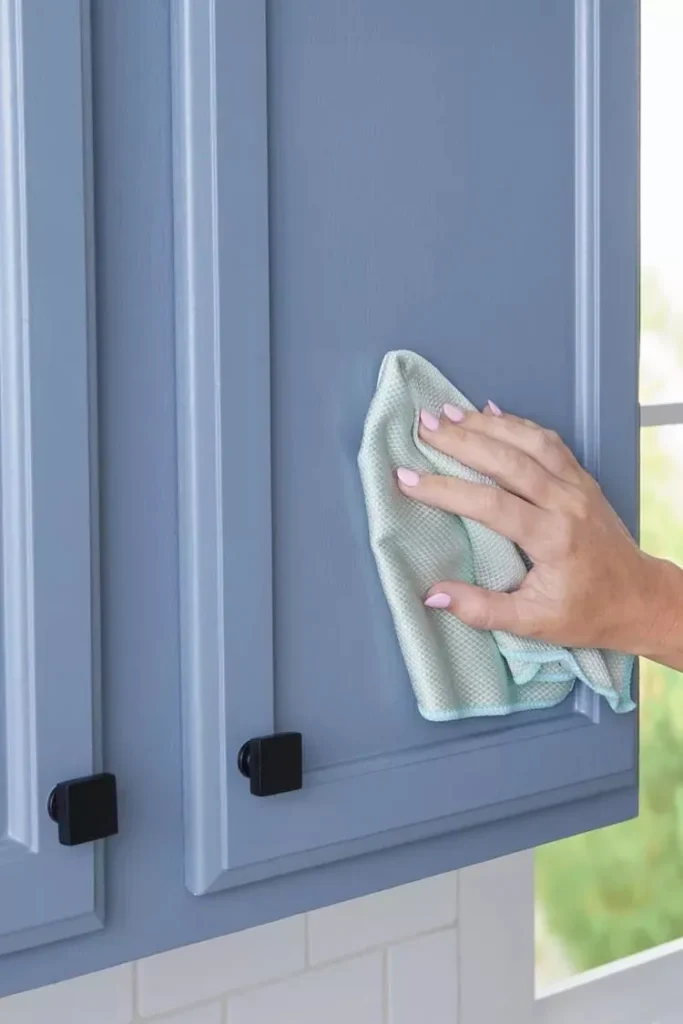
Step 2: Clean Every Surface With TSP or Degreaser — Thoroughly
Kitchen cabinets are coated in an invisible film of grease, cooking residue, soap scum, and general grime — even cabinets that look clean carry this film. Painting over this film is painting over a release agent. The paint will not bond properly. It will peel.
Mix your TSP cleaner or kitchen degreaser according to package instructions. Wear gloves. Wipe every single surface that will be painted — front, back, sides, edges of every door and drawer front, and the cabinet boxes themselves — with the cleaning solution, then wipe with clean water to remove residue. Let everything dry completely before proceeding.
Be thorough. Be slower than you think you need to be. Pay particular attention to the areas around handles and knobs — these collect the most grease because they are touched the most often. Pay attention to the underside of upper cabinet doors where cooking vapors settle. Pay attention to the back of lower cabinet doors which sometimes accumulate grime from below.
When you think you are done cleaning, clean again. Ghada’s equivalent rule for painting is: surfaces that are not perfectly clean will not hold paint. This step is not glamorous but it is the foundation everything else depends on.
Let all surfaces dry completely — at minimum several hours, ideally overnight — before the next step.
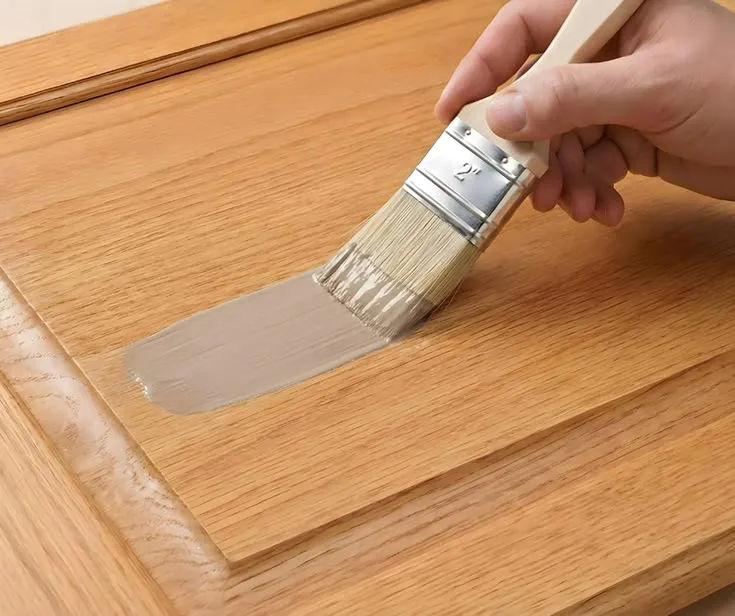
Step 3: Apply Liquid Deglosser to All Painted Surfaces
This is the step that replaces sanding — and if you understand what it does, you will appreciate why it works.
Sanding serves two purposes in cabinet painting: it physically abrades the existing surface to give the new paint something to grip, and it scuffs the sheen of the existing finish which also helps adhesion. Liquid deglosser achieves both of these outcomes chemically rather than mechanically — it reacts with the existing paint surface to chemically roughen and de-gloss it, creating the same conditions for adhesion that sanding creates without any dust, noise, or physical effort.
The application is simple but requires careful attention to process. Wear gloves — deglosser is a chemical and will irritate skin. Work in a ventilated space. Apply the deglosser to a clean rag and wipe it onto every surface that will be painted in a thin, even layer, working in small sections. Do not let it pool or drip. Do not over-apply.
Work systematically — one door at a time, all faces and edges of each door before moving to the next — so you don’t miss any surface. The deglosser typically needs to work for a few minutes and then be wiped off with a clean dry rag, or in some formulations left to dry — read the specific instructions for your product.
After the deglosser has done its work, do not touch the surfaces with bare hands. Skin oils are a contamination source that will compromise adhesion. Handle surfaces only with clean gloves from this point until the project is complete.
Allow the deglosser to dry completely as directed before priming.
Step 4: Apply Bonding Primer in Thin, Even Coats
Bonding primer is the second half of the no-sanding adhesion equation — and it is equally non-negotiable. Do not skip the primer. Do not substitute wall primer. Do not use the same paint twice as a primer-and-paint in one.
A proper bonding primer — Zinsser Bulls Eye 1-2-3 or STIX Bonding Primer are the most recommended by professional painters for this application — creates a chemically bonded foundation layer that the cabinet paint adheres to far more aggressively than it can adhere to existing paint or finish. This is what prevents peeling.
Shake or stir the primer thoroughly before use. Apply using a foam roller on flat surfaces and an angled brush on recessed areas, edges, and details. Use thin coats — the goal is even coverage, not build. Thick primer coats take longer to dry and are more likely to sag and drip.
Most bonding primers require one coat and dry to recoat in about an hour. After the primer has dried completely, inspect every surface carefully. If you see any significant surface texture or imperfections in the primer coat, this is the moment to address them — a light pass with 220-grit sanding sponge over the primed surface (not the original surface, the primer) will smooth any texture without creating the dust problem that sanding the original surface would have caused.
Wipe any sanding dust from the primed surface with a tack cloth before painting.
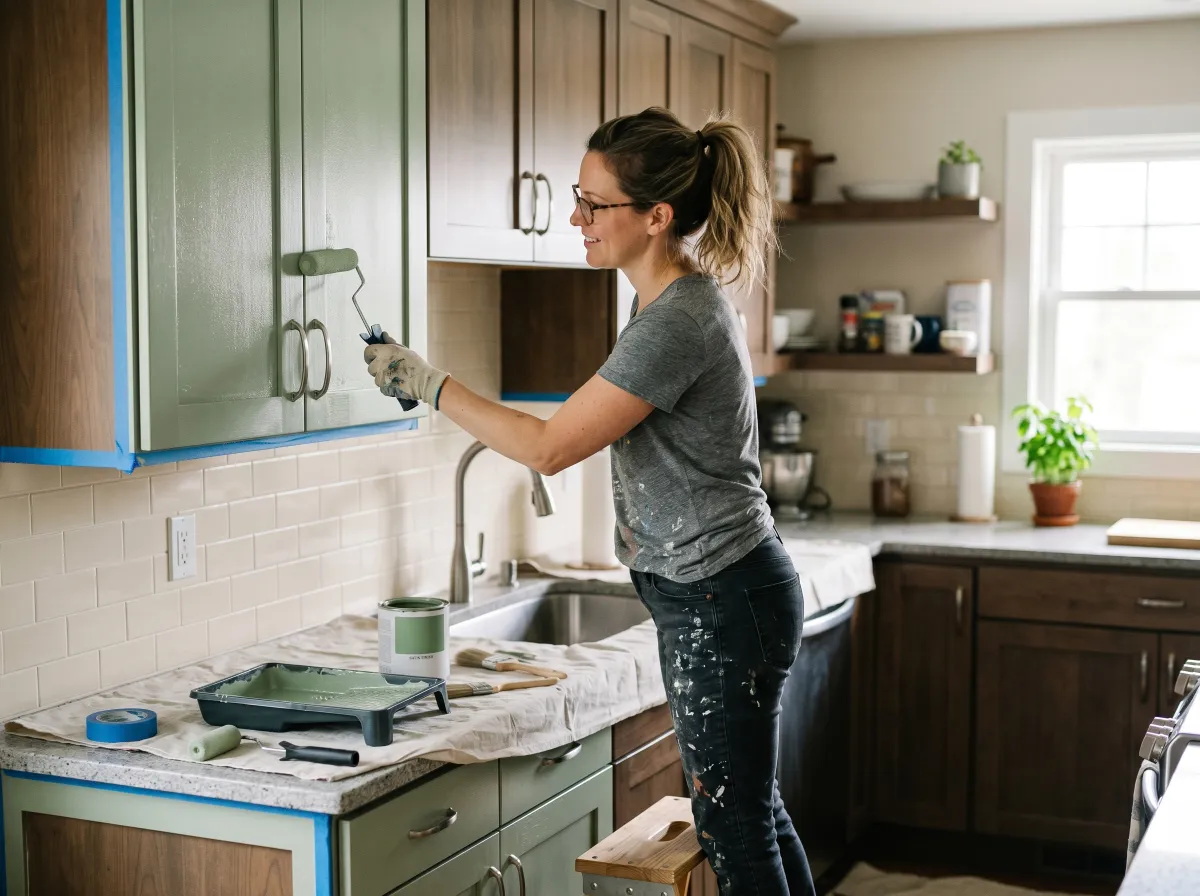
Step 5: Apply Cabinet Paint in Multiple Thin Coats

The painting step requires patience — and specifically the patience to apply multiple thin coats rather than one thick coat. This is the instruction that most amateur cabinet painters ignore because they want to see progress, and it is the instruction whose violation produces drips, runs, and an amateur-looking finish.
Stir your cabinet paint thoroughly — do not shake it, as shaking introduces air bubbles that will show in the finish. Pour into a paint tray.
For flat door panels and drawer fronts, a 4-inch foam mini roller gives the smoothest finish — it leaves a very fine texture that self-levels with good cabinet paint. Roll in one direction, keep a wet edge, and use light, even pressure. For raised panel details, recessed areas, and edges, cut in with your angled brush first, then roll the flat areas.
If you are using Benjamin Moore Advance, work quickly but do not rush — this paint levels as it dries, which means applying it with some speed lets each coat self-level before it starts to dry. If you apply it too slowly, you will go back over areas that have started to set and create drag marks.
Apply your first coat thinly and evenly. Let it dry completely — at minimum two hours for most cabinet paints, longer in humid conditions — before applying the second coat. Two to three thin coats of good cabinet paint produce a better result than one or two thick coats.
After the final coat, do not touch the surfaces for at least 24 hours. Cabinet paint cures over weeks, not hours — it will feel dry to the touch long before it has achieved its full hardness. Handle painted surfaces gently during the curing period.
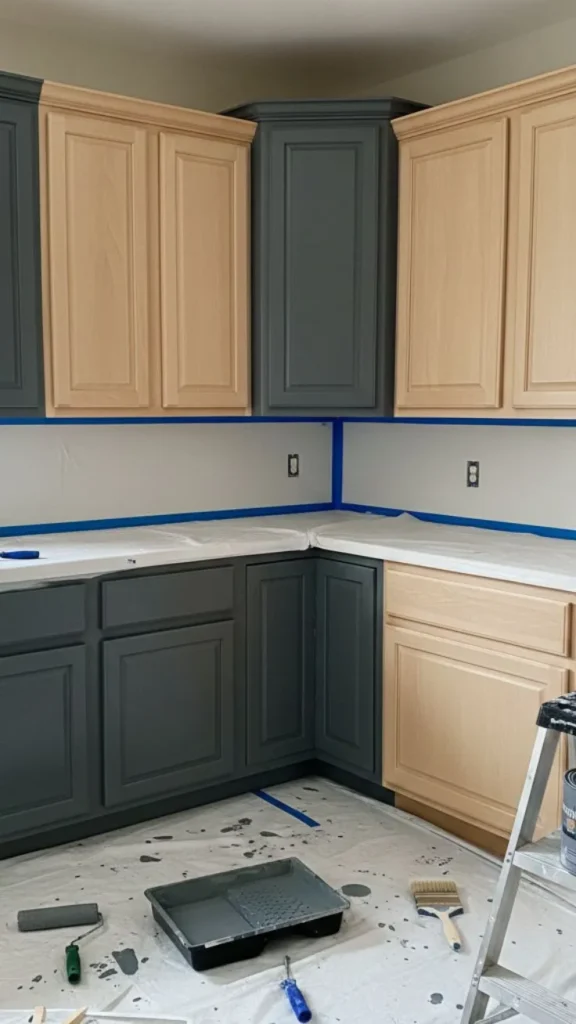
Step 6: Paint the Cabinet Boxes
While your doors and drawer fronts are drying between coats, paint the cabinet boxes — the fixed frames and interiors that remain in the kitchen.
Use painter’s tape to protect countertops, walls, and any surfaces adjacent to the cabinet boxes that you do not want painted. Apply tape carefully and press the edges firmly so paint cannot bleed underneath.
Paint the cabinet boxes in the same thin-coat, patience-required method as the doors. The interior of the cabinet boxes — if you are painting them, which is not always necessary but produces a much more cohesive finished result — should be painted before the exterior box frames.
The interior of the cabinet boxes only needs one or two coats, since the interior is not subject to the same level of handling and wear as the door fronts. The exterior frames and face frames should receive the same number of coats as your doors.
Step 7: Reinstall Doors and Hardware After Full Curing
The single most common mistake at the final stage of a cabinet painting project is reinstalling hardware and hanging doors before the paint has properly cured — and the result is almost always denting, chipping, or marring of the fresh paint surface at the exact point where hardware contacts the cabinet.
Wait. This is the instruction that requires the most patience and produces the best results.
For Benjamin Moore Advance and similar alkyd-hybrid paints, wait at minimum 48 to 72 hours before reinstalling anything — longer if you can manage it. Even then, handle rehung doors very gently for the first several weeks as the paint continues to cure to full hardness.
When you reinstall hardware, use the labeled bags to return each piece to its original cabinet. If you are installing new hardware — new knobs, new pulls — this is the perfect moment, when everything is freshly painted and the holes are exposed without hardware covering them.
Hang the first door and step back. Look at it. Really look at it. It will take your breath away slightly, the way a freshly painted cabinet always does — the clean, even, beautiful color that transforms the whole room. Take a photo. Send it to someone. Allow yourself to feel incredibly proud of what you have built.
The Mistakes That Ruin Cabinet Painting Projects (And How This Guide Helps You Avoid Every One)
I want to be specific about the mistakes that most commonly derail no-sand cabinet painting projects — because knowing what can go wrong is as important as knowing the right steps.
Skipping the TSP clean: This is the most common cause of peeling. Grease under paint means no adhesion. Clean obsessively.
Using the wrong paint: Wall paint on cabinets chips within months. Cabinet-specific paint lasts years. The price difference is worth it.
Applying thick coats: Thick coats drip, sag, and take forever to dry. Thin coats build beautifully.
Rushing the drying time: Recoating before the previous coat is properly dry causes the layers to pull apart. Wait the full recommended time.
Not removing doors: Painting doors in place produces an amateurish result with paint in all the wrong places. Remove them. Always.
Reinstalling too early: Fresh paint is soft and marks easily. Wait for curing. The patience is the professionalism.
Skipping the bonding primer: This is the second most common cause of peeling after skipping the clean step. The bonding primer is not optional. It is the reason the paint stays on.
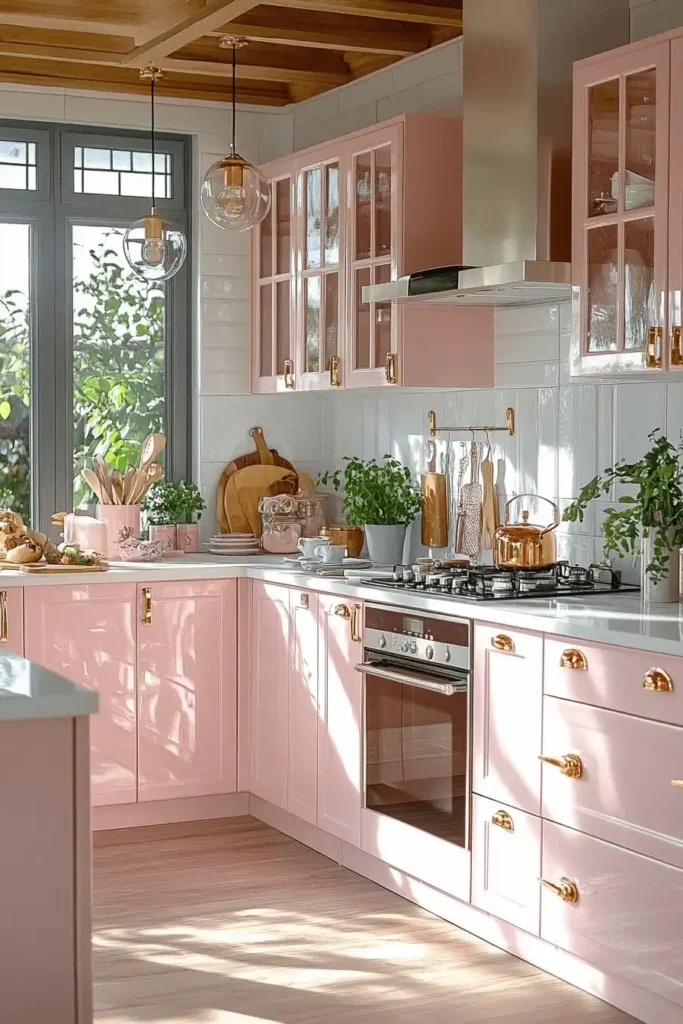
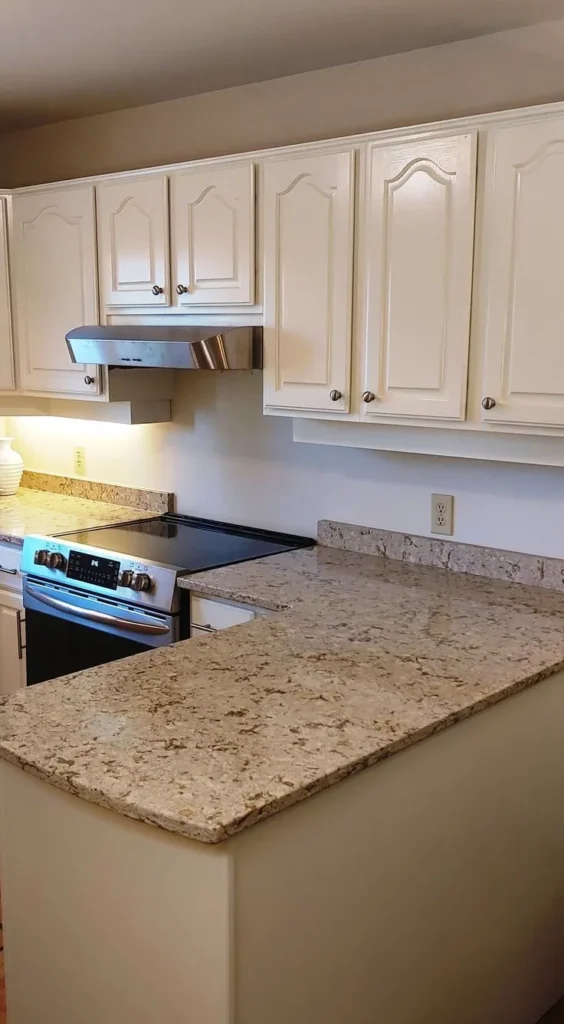
What Painting Your Cabinets Without Sanding Gives You
My friend Camille stood in her kitchen the weekend she finished and said something I think about often when I think about home transformation projects. She said: “It’s the same kitchen. The layout is the same, the countertops are the same, the appliances are the same. But it feels like a completely different life.”
She was not exaggerating. Fresh, beautifully painted kitchen cabinets change how a kitchen feels to be in — the cleanliness, the intention, the visual lift — more completely than almost any other change you can make to a kitchen. And doing it without sanding makes the project achievable in a way it might not otherwise be: for renters who cannot make dust and damage, for apartment dwellers without the space for a proper sanding setup, for anyone who has been putting off this transformation because the sanding step felt too daunting.
The process works. The products work. The result — when you follow each step with the patience and precision this guide has described — is a kitchen that looks like a renovation happened. A kitchen that makes you happy every single time you walk into it. A kitchen that, in Camille’s words, feels like a completely different life.
Yours is waiting.
Now go pin this complete step-by-step guide, share it with everyone who has ever looked at their outdated kitchen cabinets and wished they could afford a renovation, and go order your supplies so you can start this project by next weekend.
Pin this and save it — this is the painting kitchen cabinets without sanding guide you will come back to every single time you are ready to transform a kitchen without the dust, the mess, and the power tools!


Leave a Reply